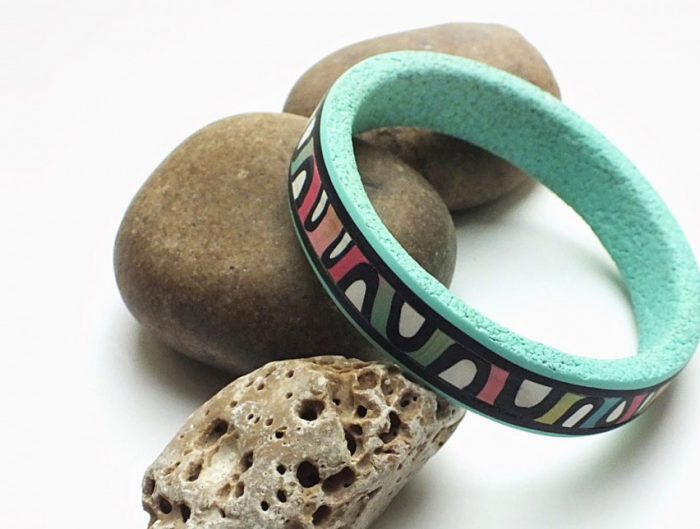
 In this simple step-by-step polymer clay tutorial by Hana Slabá, you will learn how to make this beautiful colorful pendant, using tools by LUCY CLAY.
About the author
Hana Slabá lives in South Moravia and the joy of handwork has accompanied her since her school years. She discovered polymer clay in about 2014 and working with it brings her relaxation. She would like to keep creating and exploring the possibilities and various uses of the medium with lots of support from her family. Visit her website: www.fimo-hany.webnode.cz
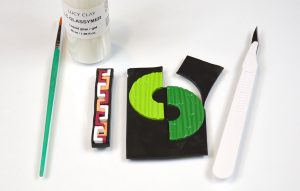
Materials and tools
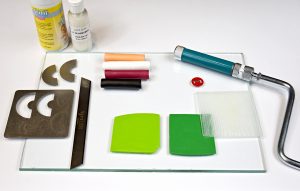 Polymer Clay – black, white, 4 different colors.
Structural texture stamps
Baby powder
Drill
Jewelry cord
Step 1.
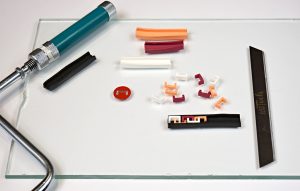
Condition the clay, extrude it through LC Disk 4 extension (“Bridge” – see the photo). The black extrusion shall be approximately 7cm/2.75″ long, the colored ones should be shorter. Cut color extrusions approximately 4 mm wide and place inside the black one.
Step 2.
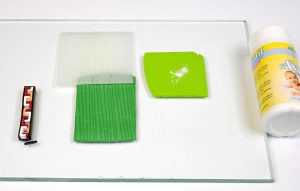
Condition green polymer clays, apply some baby powder and run through the pasta Machine together with a texture stamp. The texture will make an impression and will not glue to the stamp.
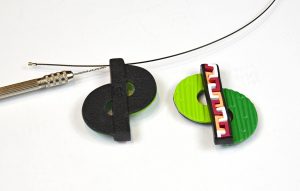
Step 3.
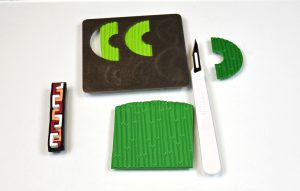
Cut two identical shapes using LC Shape Plate and bake together with the Czextruder pattern.
Step 4.
Condition some black clay and run it through the pasta machine on medium setting. Apply some Glassymer Glue on the black sheet, place the baked parts on the plate, cut them out. Gently squeeze, bake and neaten.
Step 5.
Finally, finish the back of the pendant, drill a hole for the jewelry cord and it is done.
Download PDF tutorial for free: green-pendant-hana-slaba
Leave A Reply