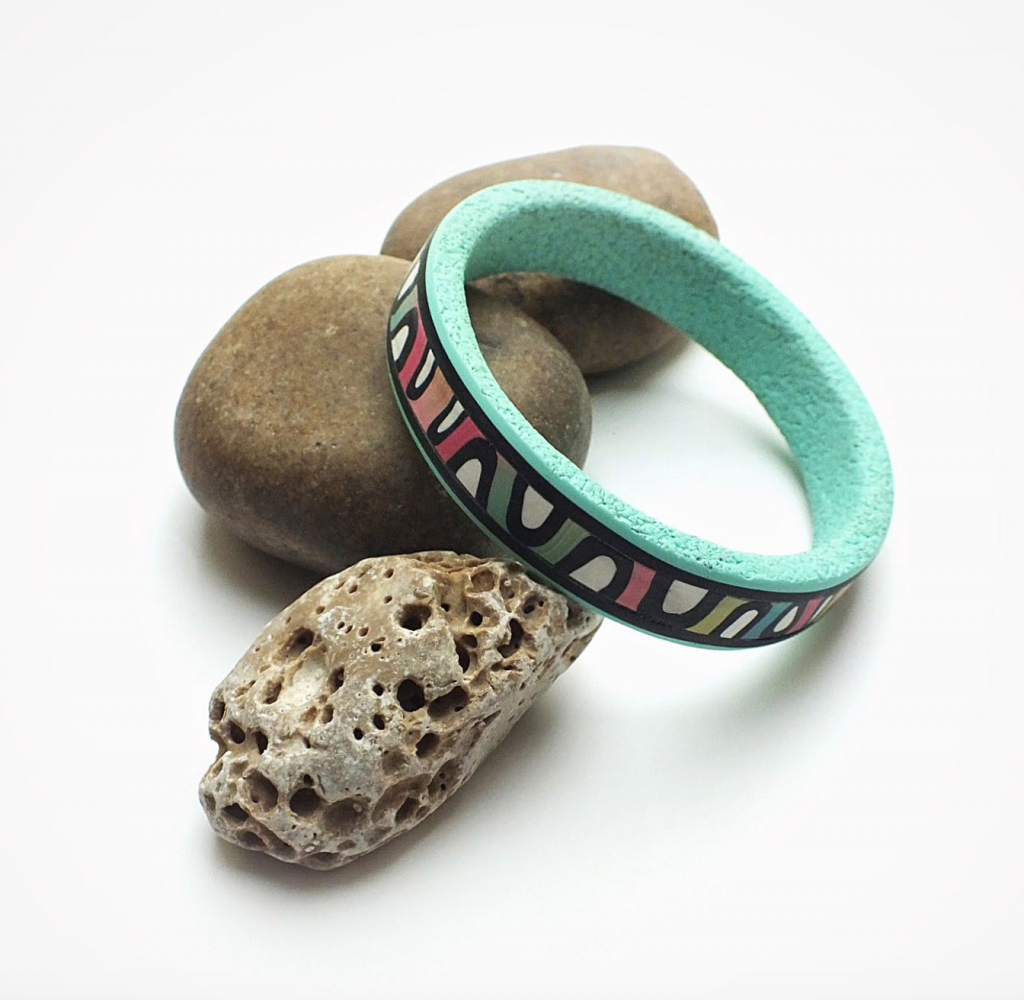
In this step-by-step polymer clay tutorial, you will learn how to make Czextruder bangles. ❤️We thank Lucy Struncova for sharing this great tutorial with us.
About the author.
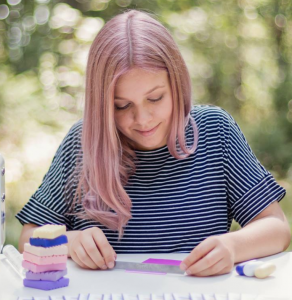 My name is Lucie Štruncová but you may know me by my nickname “Lucy” which I’ve been using for quite a long time now. My polymer addiction started quite a few years ago. As for everybody, the beginnings were rough. I remember that once I tried to play with a cube of glittering polymer and I cut out these “awesome” treble clefs. I couldn’t even imagine the possibilities of polymer clay and how many people actually worked with it. In short, I’ve simply discovered things gradually on my own. I visited my first course by Veronika Sturdy about a year later and there it all began. Courses followed curses and ideas kept on coming. But I realized that I needed to practice, to put something of myself into my products.
Wherever I work (whether at home or in a workshop) I try really hard to put something from me in every piece, to make it unique. I was honored to meet and learn from many foreign instructors from all over the world. Lecturers have taught me a lot but now I’m focusing on my own work, courses, and e-books…
I love writing tutorials for you and I want to pass as much knowledge to you as possible. Besides my own production, I also work at LC Tools which is a business that we’ve started with my father. I try to promote, test and design our products, which make the work easier for all of you handy girls. Guess I’m kind of a “mom” of all this stuff. I sincerely hope that the polymer clay will win you over as well. Give yourself a chance to develop your own creativity and believe me that this amazing material has a great future! You can learn more about me and about my techniques at www.lucystruncova.com.
Materials and supplies:

• Extension from LC Disk 4 “Bridge”
• Polymer clay – black and pastel colors, black-and-white bull’s eye cane
With the help of the LC Disk 4 you can easily and quickly create bangle. I have written about it already some time ago but repetition is the mother of wisdom, isn‘t it? You can use it with any cane and pattern. In this tutorial, you will find out how to create a bangle and how to create simple intertwined cane. Let‘s do it.
Step 1.
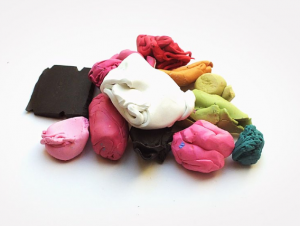
The best thing about this tutorial is that you can use any leftovers of polymer clay you have.
Step 2.
Condition polymer clay in each color and make rolls in various thicknesses. Place rolls next to each other, even the thickness with a blade and smooth with a roller so they stick together.
Step 3.
Now you have got a nice blend as if it was made with a pasta machine.
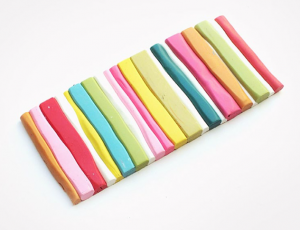
Step 4.
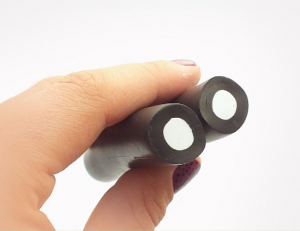
Now you will need and a bull’s eye cane.
Step 5.
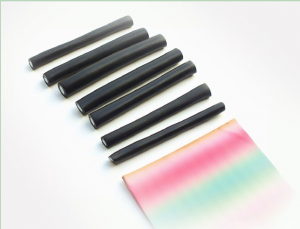
Reduce the black bull’s eye cane and cut into at least seven pieces the same width as the skinner blend.
Step 6.
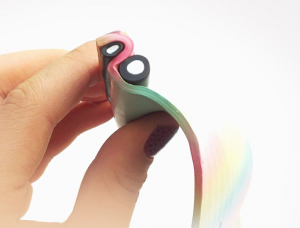
Then start to intertwist the blended sheet and bull’s eye.
Step 7.
First do it with your hands, later use your mat for help.
Step 8.
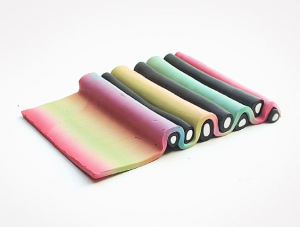
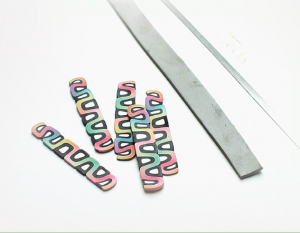
Cut in pieces, put pieces together and it’s done :).
Step 9.
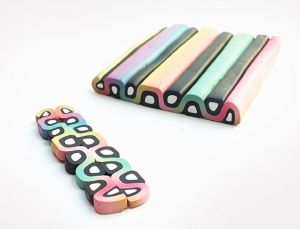
You may also reduce a part of the pattern, cut it in thirds and place together as in the photo.
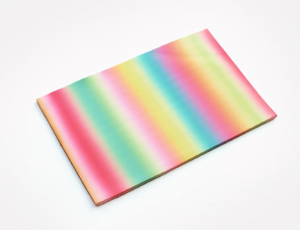
Step 10.
 You may also play with mirror effects.
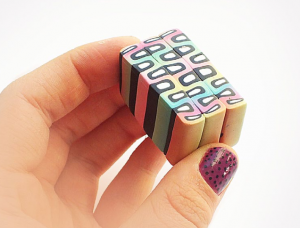
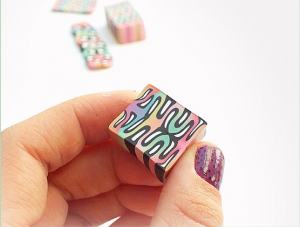
Step 11.
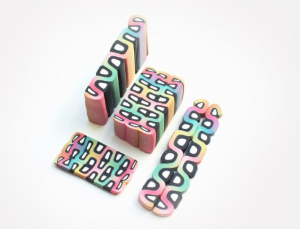
Patterns are done and now you can use them for the bangle.
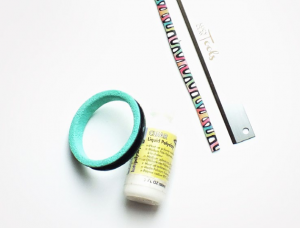
Step 12.
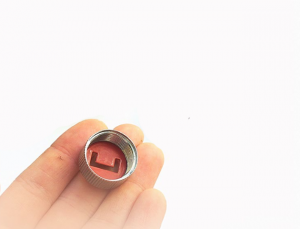
For the bangle, you will need an extension from LC Disk 4 – a bridge. And of course, Czextruder and black clay.
Step 13.
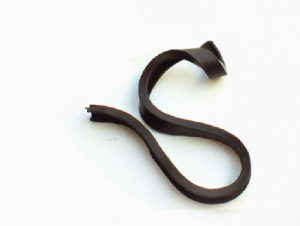
Extrude the clay through the extension using LC Czextruder.
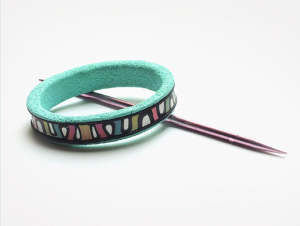
Step 14.
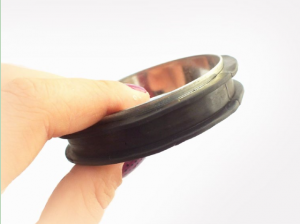
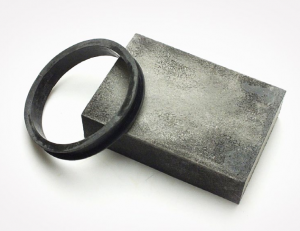
Wrap the extrusion around a form for a bangle, which should have a bigger diameter than your wrist so that it is comfortable to wear. Connect the ends using polymer liquid. Bake in the oven according to the manufacturer’s instructions.
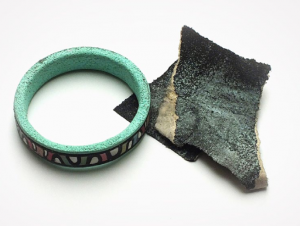
Step 15.
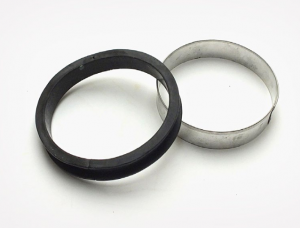
After baking, take the bangle off the form very carefully.
Step 16.
 Sand uneven parts using fine sandpaper.
Step 17.
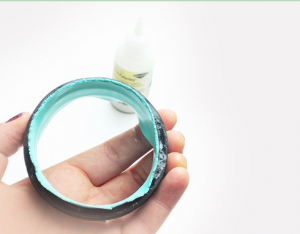
Run conditioned turquoise clay through the pasta machine on the middle setting. Cover the inside and side parts of the bangle with liquid polymer clay. Place the turquoise sheet inside the bangle.
Step 18.
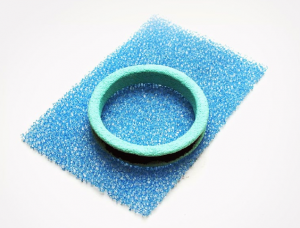
Pull the sheet over the sides and then texture all over with a texture sponge.
Step 19.
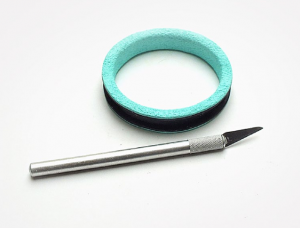
Using a blade or a scalpel, remove the excess clay from the sides of the bangle.
Step 20.
Meantime, run some scrap clay through the pasta machine on the middle setting and cut it in strips approx. 2 cm width. Slice the cane using LC slicer.
Step 21.
 Apply liquid clay on the bangle (the black part, not covered with turquoise clay). Smooth a stripe of scrap clay with a roller or a credit card, place on the area covered with liquid clay. Make sure to remove bubbles.
Step 22.
Now it is time to decorate the bangle with the cane. Carefully place slices of the cane on the scrap clay (use liquid clay if needed). Then cut excess so that the slices fit well. Bake again.
Step 23.
After baking, let the bangle cool down and sand it with sandpaper. Start with coarse sandpaper and then gradually finish with the finest one. Polish with jean fabric or polisher.
Step 24.

You can use whatever pattern for your bangle and you don’t need to buy expensive metal forms because you can create your own base yourself.
Leave A Reply