Want to know what you can make with LC Disk 5? Here are a few quick tutorials.
Let’s do it.
RICE CANE
Step 1
Prepare 2 extensions from LC Disk 5, polymer clay in black, white color, and one blend.
Step 2

Run the blend through the machine at the thin setting and roll it up. Put it in the Czextruder and extruder through the rice disc. Then extrude the black and white clay through the other disc.
Step 3
Cut all extrusions into the same pieces (about 5 – 10 cm long).
Take the rice extrusion and place it between one black and one white extrusion. Repeat with all pieces.
Step 4
Place these four canes next to each other to create a bigger cane. I decided to assemble them so the white color meets in the middle.
Step 5
Slice the pattern using LC Slicer or LC Mini Slicer.
Step 6
You can also create a slightly different pattern.
Step 7
Again, slice it using LC Slicer or LC Mini Slicer.
RICE CANE 2
Step 1

You can make a different rice cane by using a different filling for the rice disc. Prepare these two discs and polymer clay – black, white, and one color or blend.
Step 2
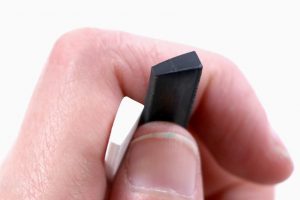
I extruded violet blend through the rice disc and black and white clay through the other disc.
Step 3

Cut all extrusions into the smaller pieces. Put the rice extrusion inside two fillings to create a rectangular cane.
Step 4
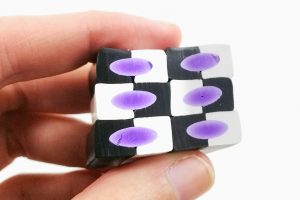
Create a bigger cane. I rotated the rectangles so they formed a black and white chessboard, but you can make a different pattern.
Step 5
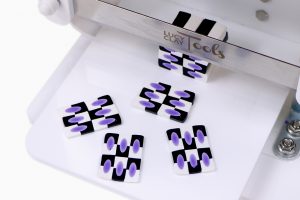
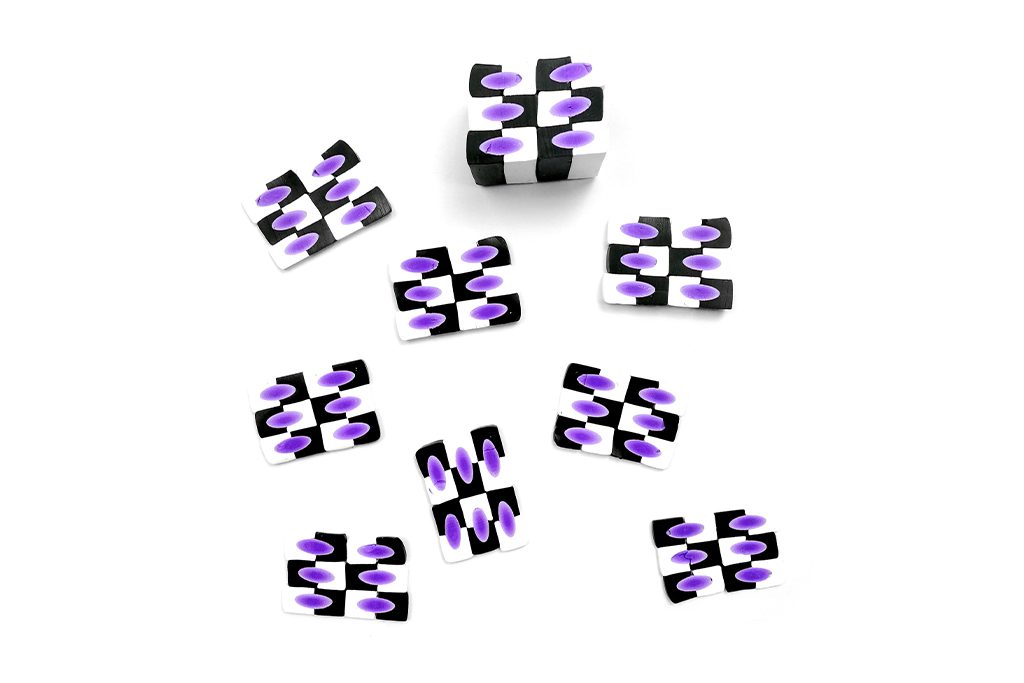
Slice your cane. You can use LC Slicer or LC Mini Slicer to make more even slices.
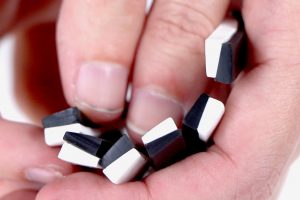
TRAPEZOIDAL CANE
Step 1

For this pattern, you will need only one disc from the LC Disk 5 (trapezoidal shape) and clay in two contrast colors. I used black and white.
Step 2
Put the clay into your Czextruder and extrude the clay. Cut both extrusions into smaller pieces.
Step 3
Use two different extrusions to create a cane in the shape of a parallelogram.
Step 4
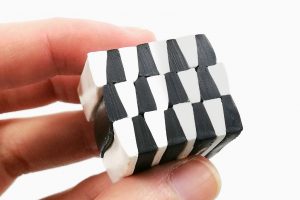
Assemble a bigger cane.
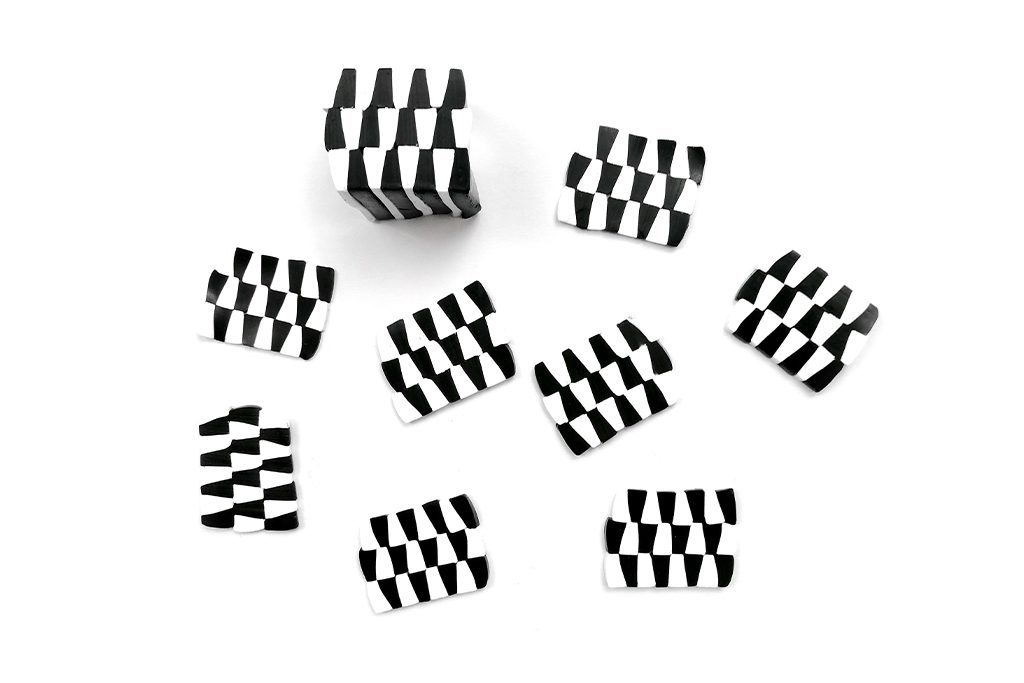
Step 5
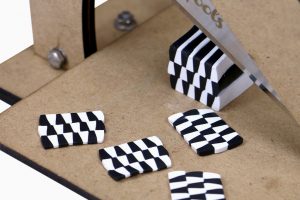
Slice the cane and use it in your project.
DIAMOND (TRIANGULAR) CANE
Step 1

For the diamond cane, you will need a V-shaped disc and a triangular disc or a rhombus disc from LC Disk 5. Prepare clay in 3 colors – I used black, white, and red clay.
Step 2

Extrude white clay through the triangle disc and red clay through the V disc. Cut both extrusions into smaller pieces. Place the white extrusion into the red extrusion.
Step 3
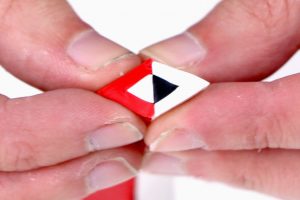
Repeat the previous step, but use different colors for each disc. Join the two parts so that they form a diamond.
Step 4
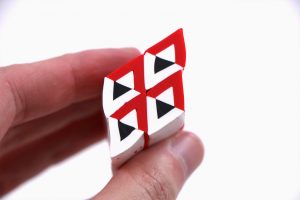
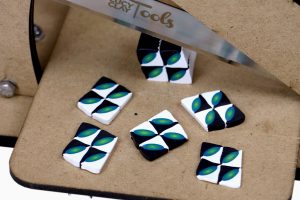
Use four diamond canes to make a bigger pattern.
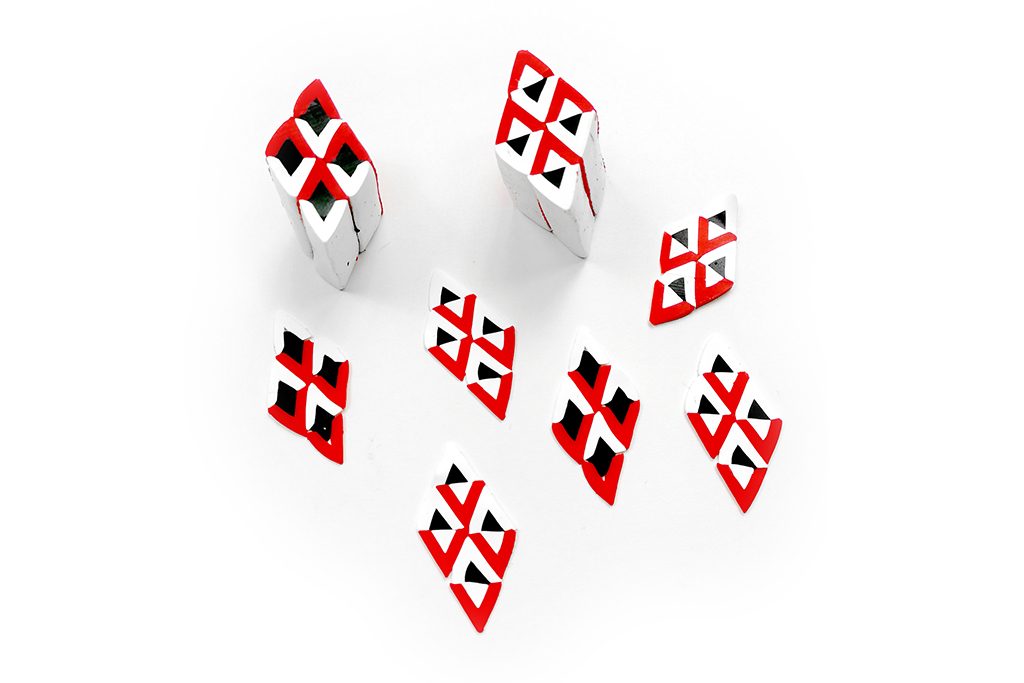
Step 5
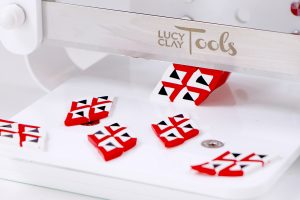
Slice the cane.
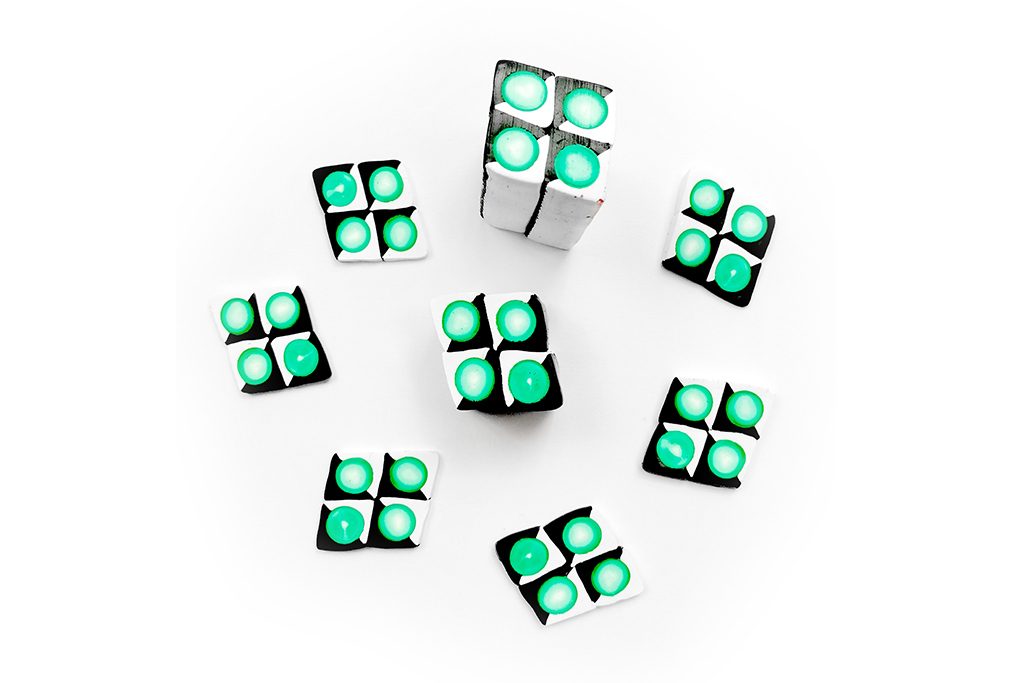
CIRCLE CANE
Step 1

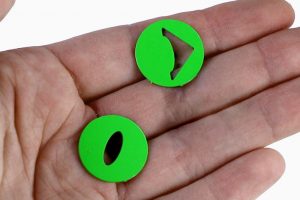
Prepare these two extensions from the LC Disk 5. You will also need clay in three colors. I used black, white, and green blend.
Step 2
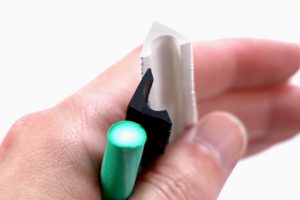
Extrude green clay through the circle disc and black and white through the other disc. Cut all the extrusions into the smaller pieces.
Step 3
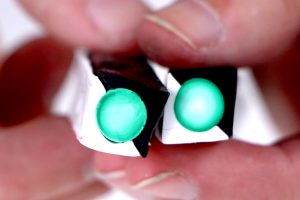
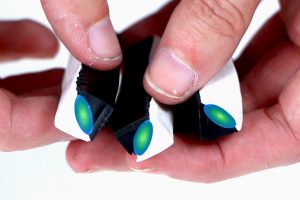
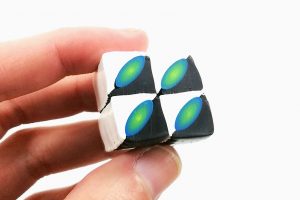
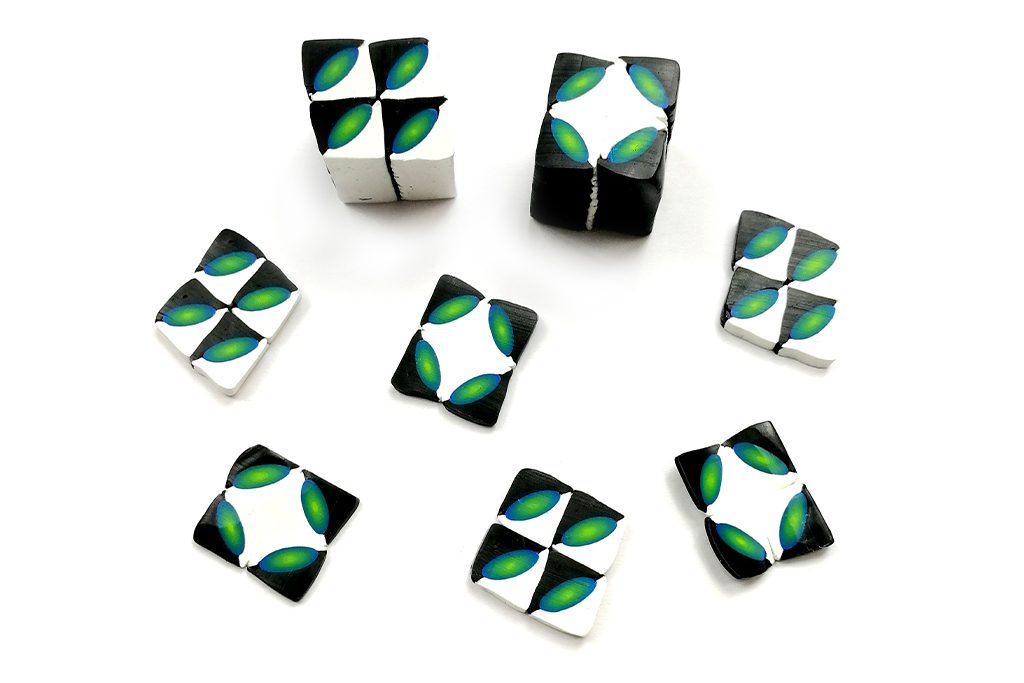
Make a cane – put the circle extrusion between one white filling and one black filling.
Step 4
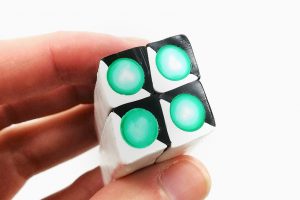
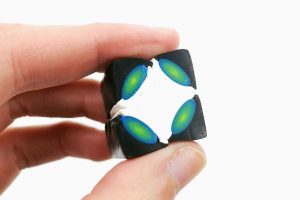
Create a bigger cane from four canes. You can experiment – rotate the canes to create different patterns.
Step 5
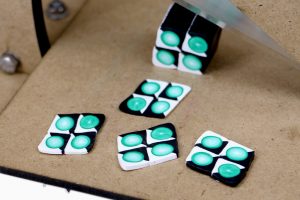
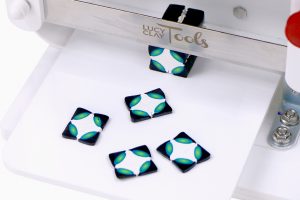
Before using the cane in your project, slice it with LC Slicer or LC Minislicer.
CIRCLE CANE 2
Step 1

Prepare a circle disc from LC Disk 5.
Step 2

Condition polymer clay. Prepare a sheet (about 1 – 2 mm thick) in red, white, and black color. Cut about 10 circles from each sheet using a cookie cutter – in the size of the Czextruder barrel.
Step 3
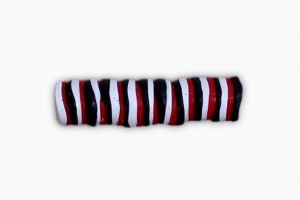
Stack the circles on top of one another. You can reduce the diameter of the stack slightly by rolling with your hand.
Step 4

Put it into the Czextruder and extrude the clay.
Step 5

You can cut the extrusion into smaller pieces. Then place the pieces next to each other and press them together.
Step 6

Or cut the extrusion in thin slices. You can use LC Slicer or LC Mini Slicer.
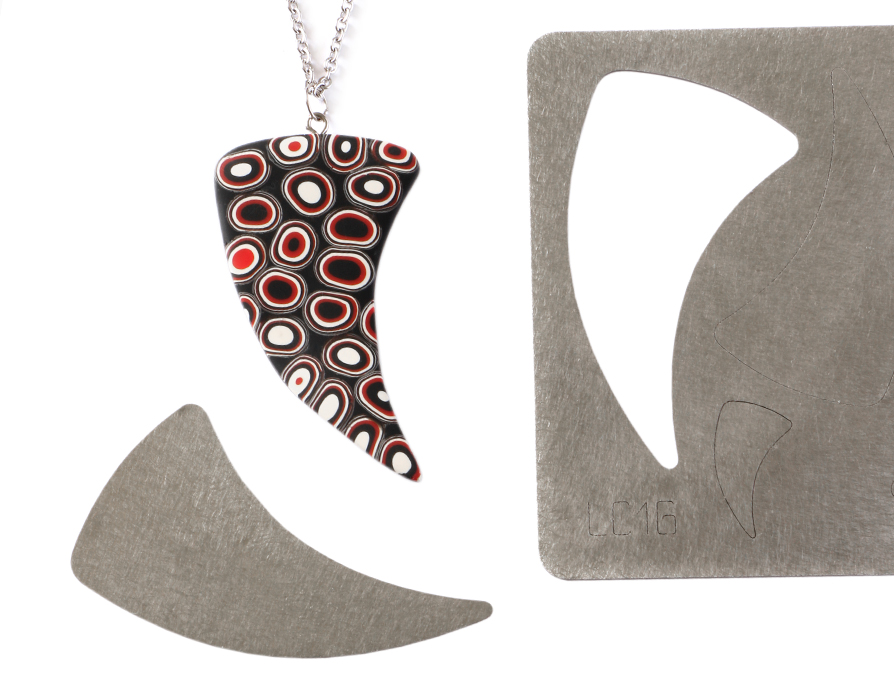
CLAW PENDANT MADE BY KÁJA KOUTOVÁ & PETRA VILÍMKOVÁ
Watch and read the free tutorial here.
Download PDF tutorials for free: lcd5-patterns-from-czextruder-PDF
Leave A Reply