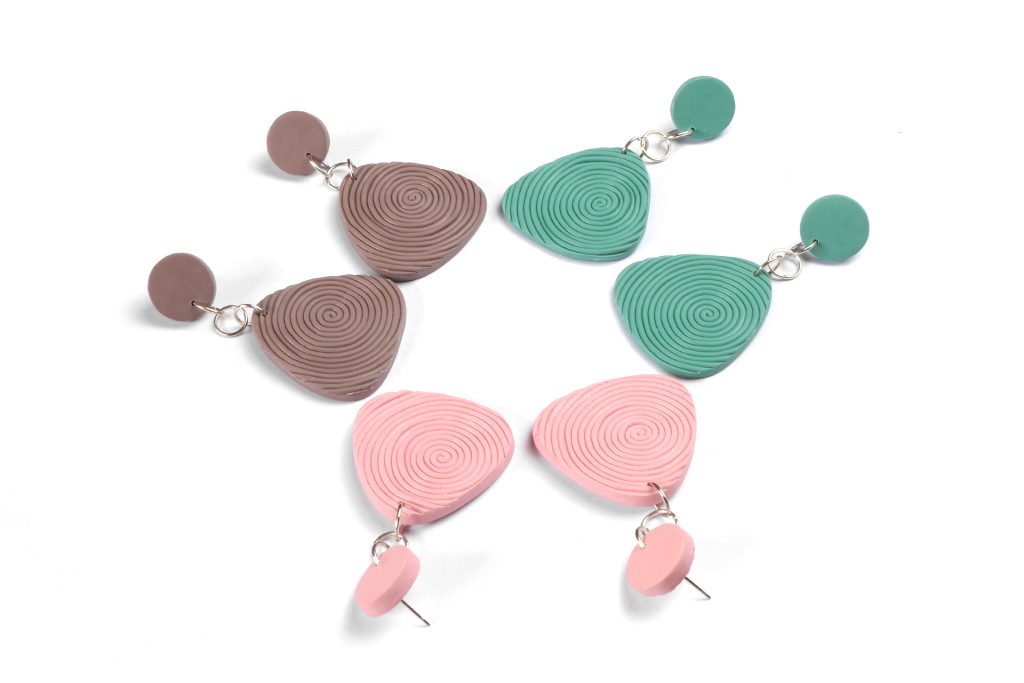
Let’s make these simple spiral earrings. It is super easy with a little help from the Czextruder.
About the author

Petra Vilímková
Petra lives near Pilsen, Czech Republic. Ever since childhood, she has loved learning new craft techniques. By age fifteen, she began studying art at various art schools in Pilsen before receiving a Bachelor of Arts degree in Industrial Design at the Ladislav Sutnar Faculty of Design and Art, University of West Bohemia. She has been working for LUCY CLAY since 2014.
Materials and tools:
- Polymer clay
- Machine
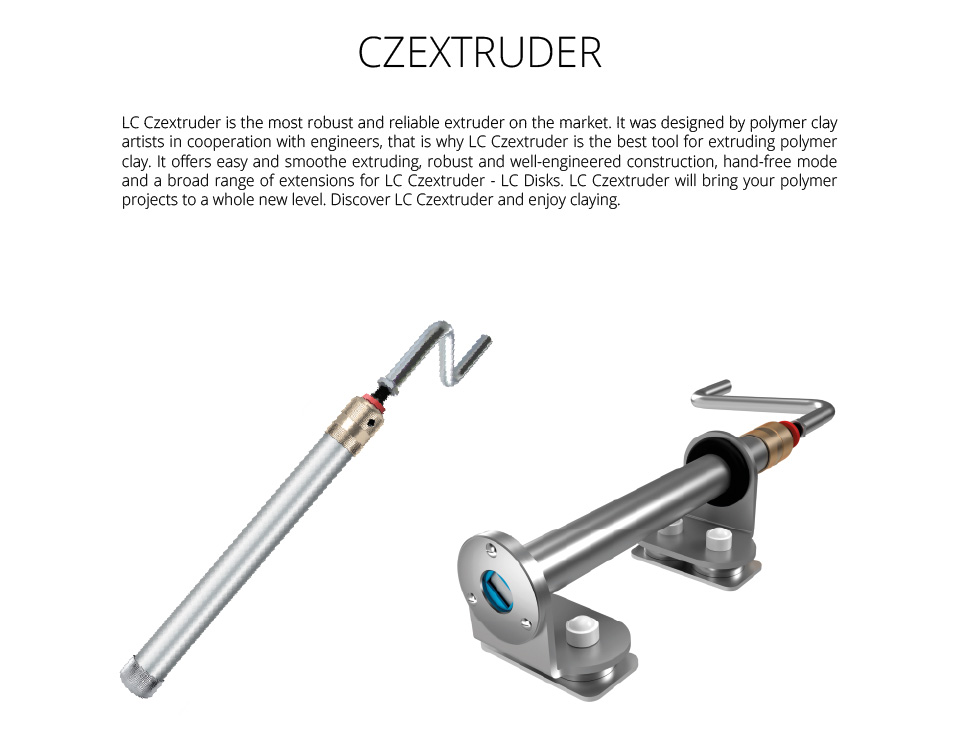
- Czextuder + LC Disk 1 or 3 (extension with small holes)
- Scalpel, blade
- Cookie cutters (round and round triangle)
- Texture sponge (aluminum foil)
- Mini-drill
- Sandpaper
- Stud earrings findings and jump rings
- Flat nose pliers
Step 1
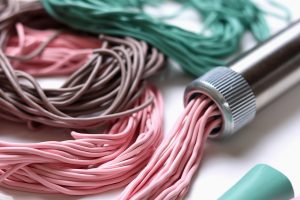
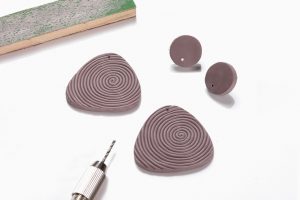
Condition polymer clay. Put the clay into the Czextruder. Use the extension with small holes from LC Disk 1 or 3 and extrude the clay.
Step 2
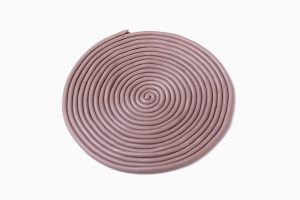
Coil the extrusion to make a spiral.
Step 3
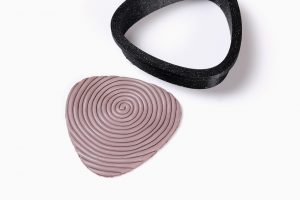
Cut using a round triangle cookie cutter and remove the excess clay. Make the second earring the same way.
Step 4
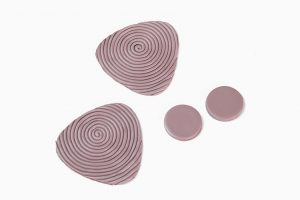
Make a sheet of clay, cut two small circles. Bake all parts according to the manufacturer’s instructions.
Step 5
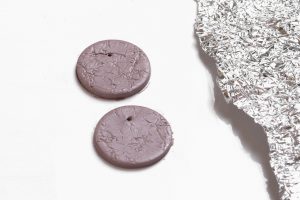
Make another sheet of clay and texturize it with a crumpled aluminum foil. Cut using the circle cookie cutter. Make a small hole with a needle tool or pin. There you will add the earring post.
Step 6
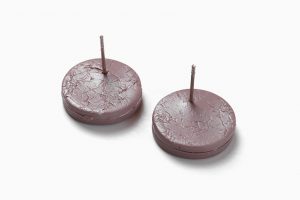
Cover the backside of the baked part with liquid clay. Place the textured part, but don’t forget to add an earring post between the baked and unbaked circle.
Step 7
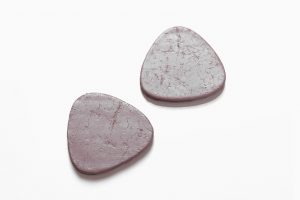
Proceed similarly with triangles. Bake all parts again.
Step 8
Sand edges and drill holes for connecting both parts.
Step 9
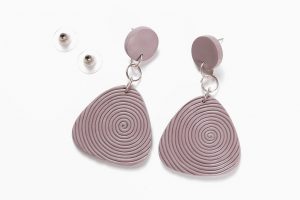
Add jump rings and your earrings are ready.
Download PDF tutorial for free: spiral-earrings-PDF-tutorial
Leave A Reply