Wonder what you can make with LC Disk 8? Here are quick tutorials.
FISH CANE
Step 1
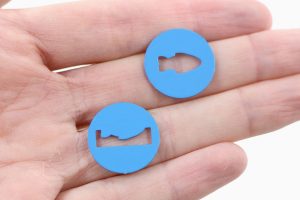
Prepare 2 extensions from LC Disk 8 and polymer clay in blue and white color.
Step 2

Put the blue clay in the Czextruder and extrude it through the fish disc. Then extrude the white clay through the other disc.
Step 3

Cut all extrusions into the same pieces (about 5 – 10 cm long).
Take the fish extrusion and place it between two white extrusions. You can also make canes with reverse colors.
Step 4
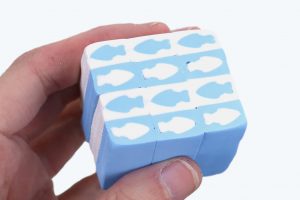
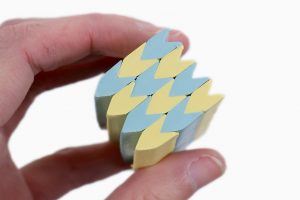
Create a bigger cane.
Step 5

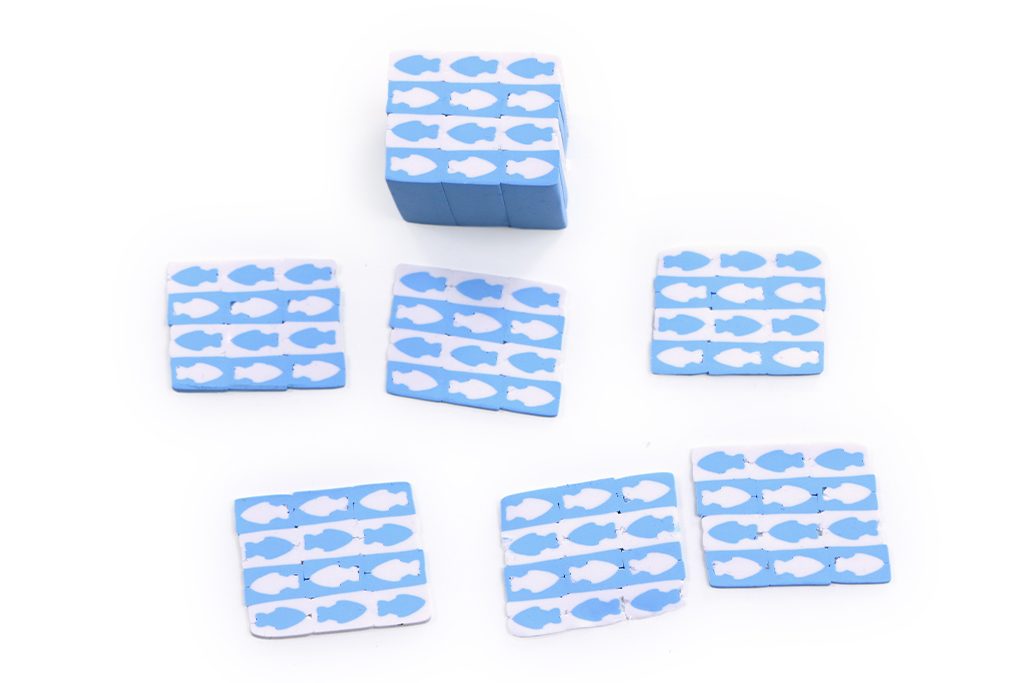
Slice the pattern using LC Slicer or LC Mini Slicer.
PEACOCK CANE
Step 1

Prepare these two discs and polymer clay – green and yellow.
Step 2
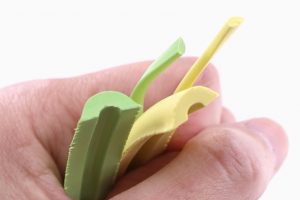
Extrude green clay and yellow clay through both discs.
Step 3
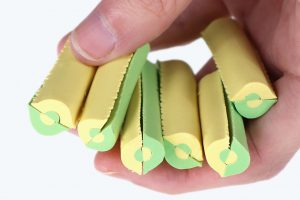
Cut all extrusions into smaller pieces. Assemble ‘eye’ canes. Place the green half-circle extrusion into the bigger yellow extrusion and the yellow half-circle extrusion into the bigger green extrusion. Then join these two halves together.
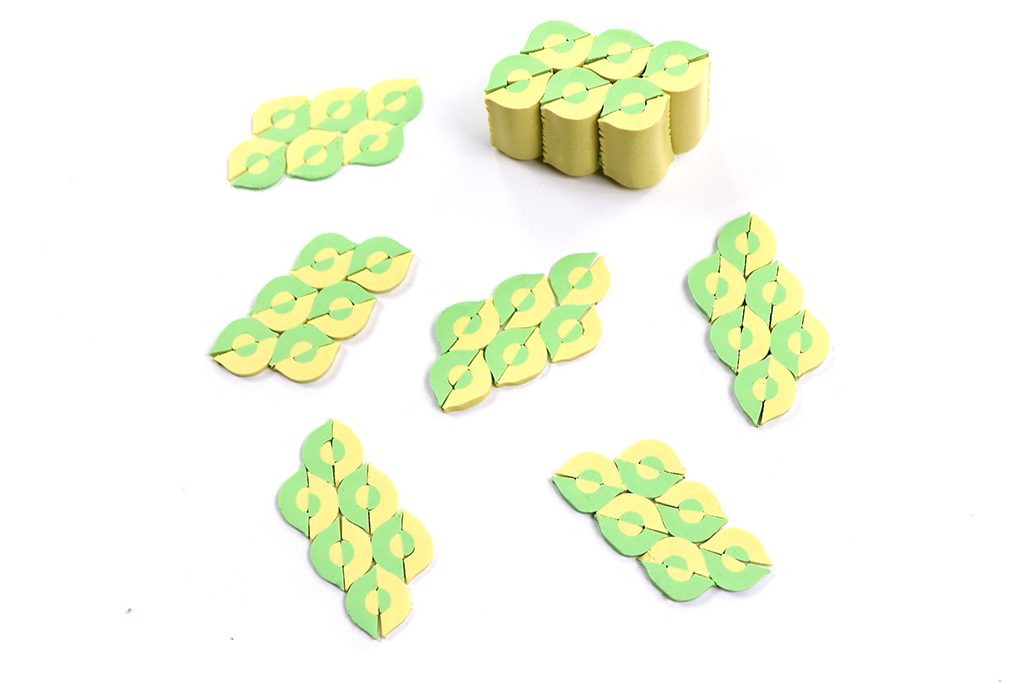
Step 4

Make a bigger cane.
Step 5
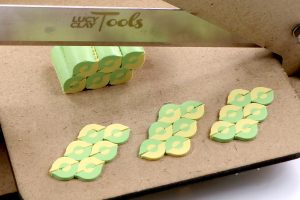
Slice your cane. You can use LC Slicer or LC Mini Slicer to make more even slices.
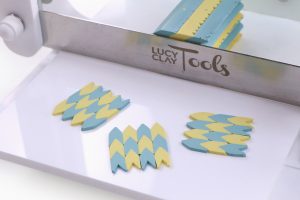
ARROW CANE
Step 1

For this pattern, you will need only one disc from the LC Disk 8. Prepare clay in two contrast colors.
Step 2

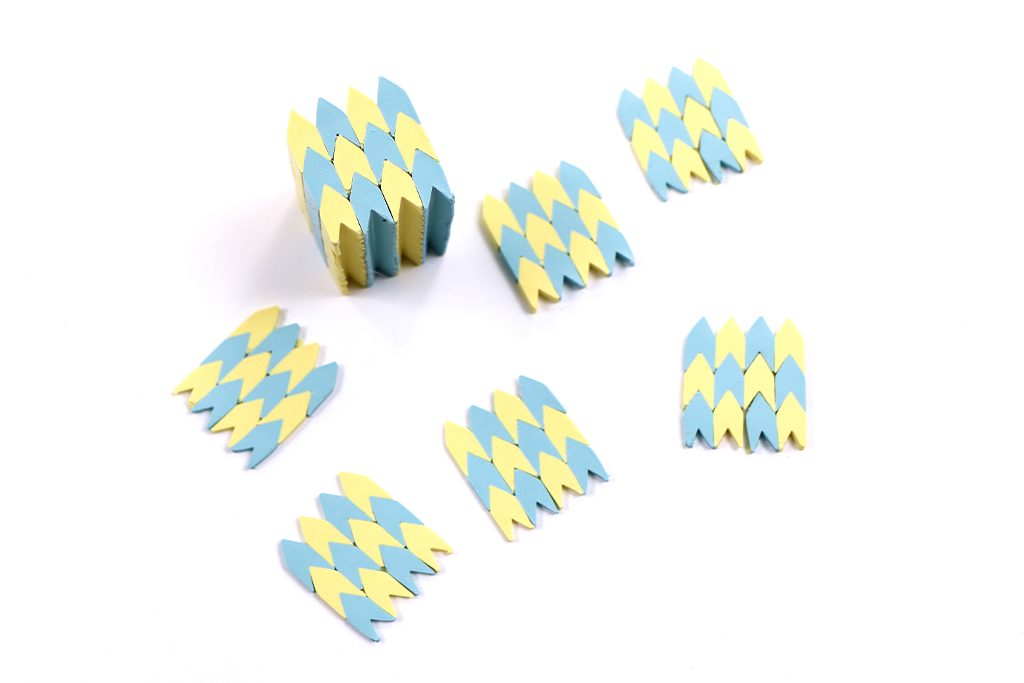
Put the clay into your Czextruder and extrude the clay. Then extrude the second color through the same disc. Cut both extrusions into smaller pieces.
Step 3
Assemble a bigger cane.
Step 4
Slice the cane and use it in your project.
SQUARE CANE
Step 1

You can use a ‘corner’ disc from LC Disk 8 on its own to make another arrow cane. But I decided to combine it with a square disc from LC Disc 6. Prepare polymer clay in 3 colors – I used black, pearl, and blue clay.
Step 2
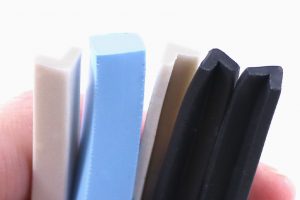
Extrude pearl and black clay through the ‘corner’ disc and blue clay through the square disc. Cut both extrusions into smaller pieces.
Step 3
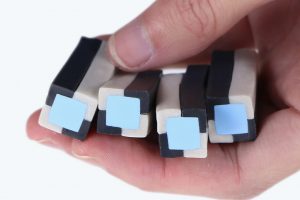
Place square extrusion between two pearl extrusions and two black extrusions.
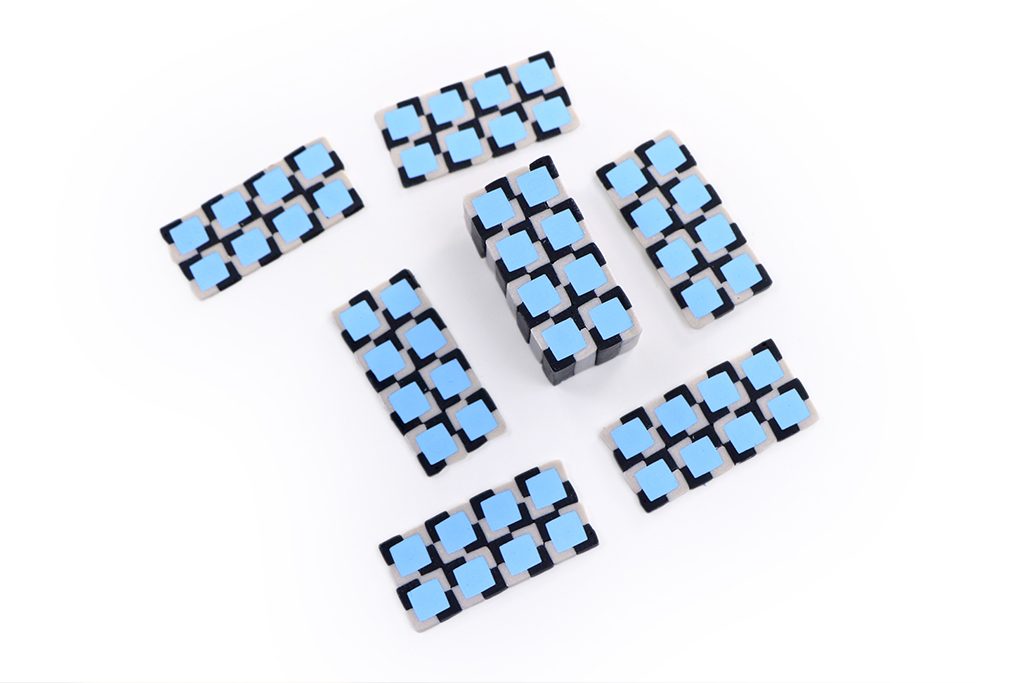
Step 4

Use eight canes to make a bigger pattern.
Step 5
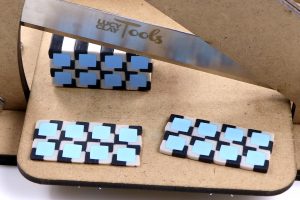
Slice the cane.
TRIANGLE CANE
Step 1

Prepare triangle and half-circle extensions from LC Disk 8. You can also use a circle extension from LC Disk 2 instead of the half-circle extension. You will also need clay in three colors. I used black, white, and pink.
Step 2
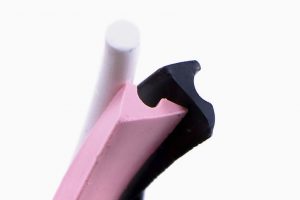
Extrude pink and black clay through the triangle disc and white clay through the circle disc. Cut all the extrusions into smaller pieces.
Step 3
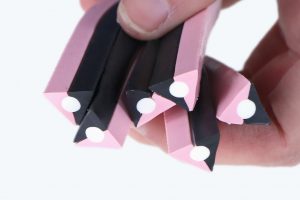
Make a cane – put the white circle extrusion between one pink extrusion and one black extrusion.
Step 4
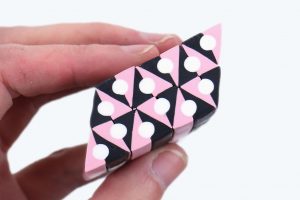
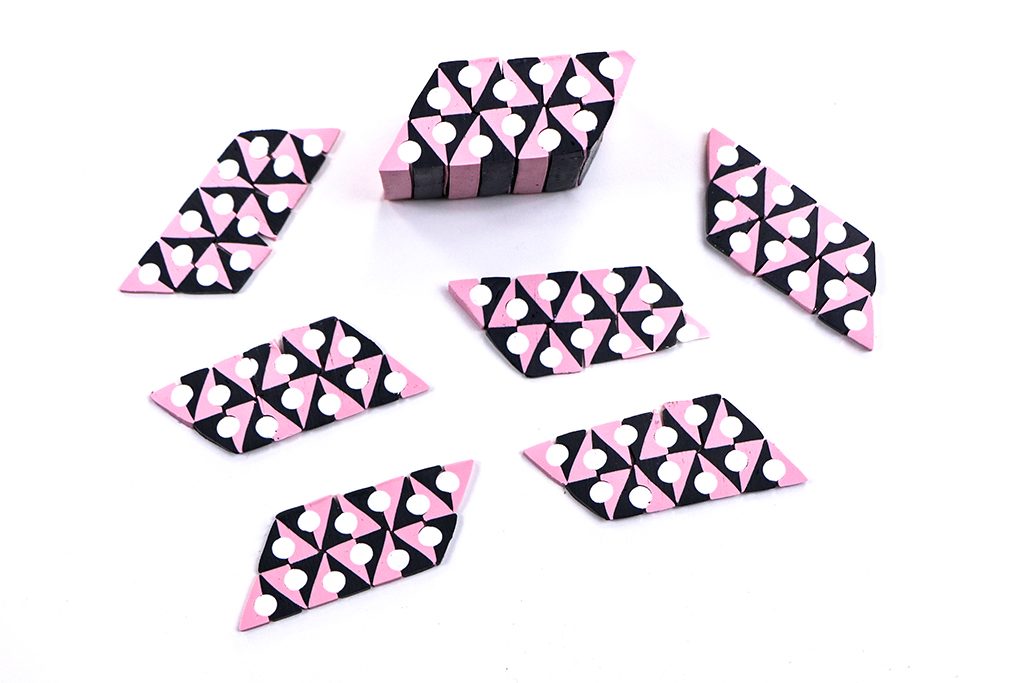
Create a bigger cane. You can experiment – rotate the canes to create different patterns.
Step 5

Before using the cane in your project, slice it with LC Slicer or LC Minislicer.
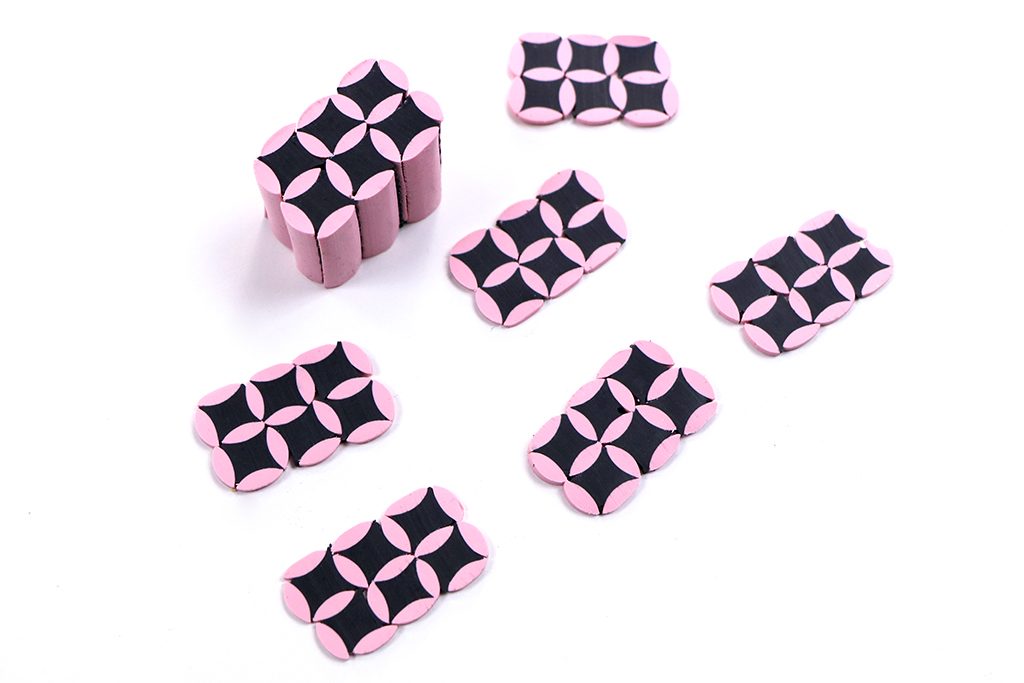
RICE CANE
Step 1
Prepare a rice disc from LC Disk 3 and a matching disc from LC Disk 8. I used black and pink clay.
Step 2

Put pink clay into the Czextruder, use the rice disc from LC Disk 3, and extrude clay. Then extrude black clay through the other disc.
Step 3
Start assembling the cane, take one black extrusion and four pink extrusions and make a cane. Proceed in a similar way to create the whole cane
Step 4

Cut thin slices. You can use LC Slicer or LC Mini Slicer.
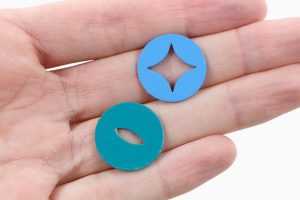
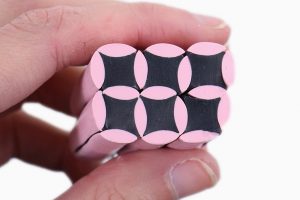
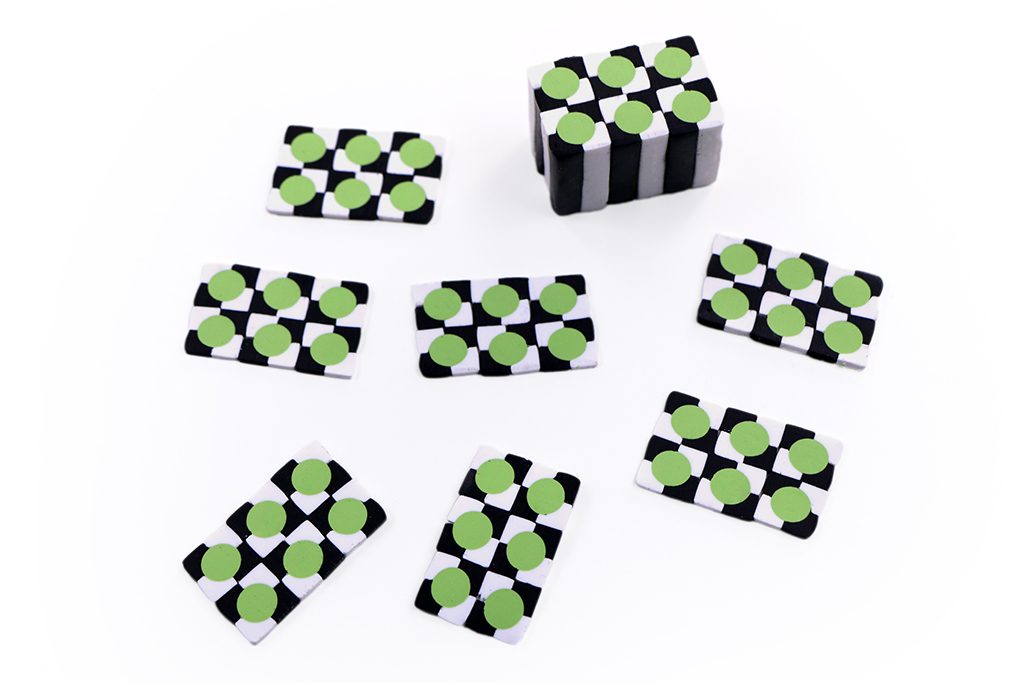
CIRCLE CANE
Step 1

Prepare these two extensions – a circle disc from the LC Disk 5 and a matching disc from LC Disk 8. You will also need clay in three colors. I used black, white, and green.
Step 2
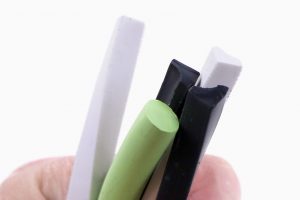
Extrude green clay through the circle disc and black and white through the other disc. Cut all the extrusions into smaller pieces.
Step 3
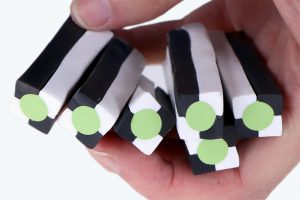
Make a cane – put the circle extrusion between two white fills and two black fills.
Step 4
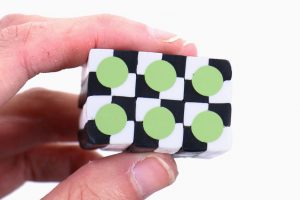
Create a bigger cane from six canes.
Step 5
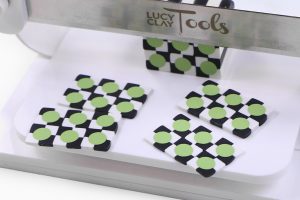
Before using the cane in your project, slice it with LC Slicer or LC Minislicer.
Download PDF tutorials for free: lcd8-patterns-from-czextruder-PDF
Leave A Reply