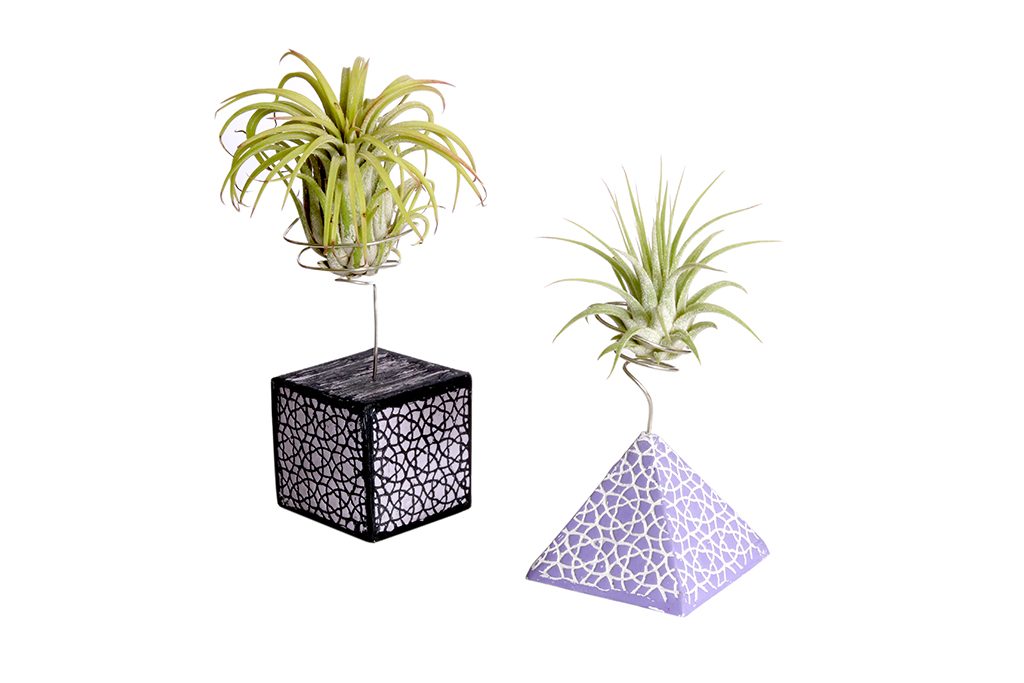
Use LC Microstencils set 7 to create an original holder for your Tillandsia.
About the author

Petra Vilímková
Petra lives near Pilsen, Czech Republic. Ever since childhood, she has loved learning new craft techniques. By age fifteen, she began studying art at various art schools in Pilsen before receiving a Bachelor of Arts degree in Industrial Design at the Ladislav Sutnar Faculty of Design and Art, University of West Bohemia. She has been working for LUCY CLAY since 2014.
Materials and tools:
- Black polymer clay
- Machine
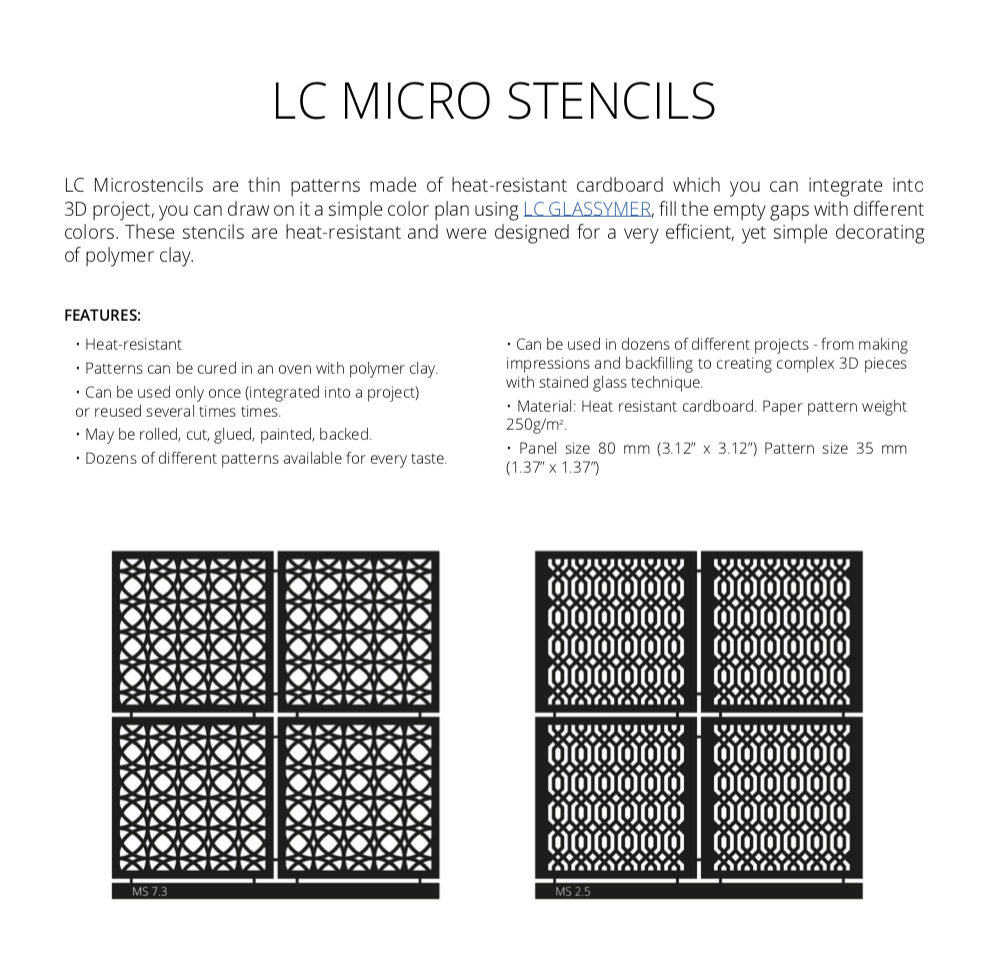
- LC Microstencils Set 7
- Liquid clay / Liquid glue LC Glassymer
- Blade
- Sandpaper (Fine) / Fine steel wool
- Acrylic paint (color of your choice)
- Mini-drill
- Wire
Step 1
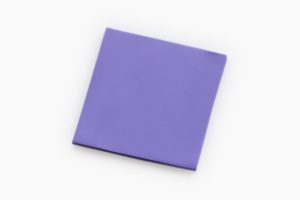
Condition polymer clay. And run it through the machine at the thicker settings (about 3 mm). Cut 1 square in size of LC Microstencil.
Step 2
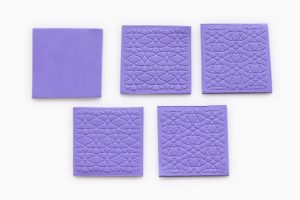 Run LC Microstencil with a sheet of light scrap clay through the machine several times to remove black dust from them. Then run LC Microstencil with a sheet of clay through the machine to make a very clear texture. Cut out the excess clay and remove the LC Microstencil carefully. Repeat this step 3 times, you will have 4 textured squares in the size of LC Microstencil.
Step 3
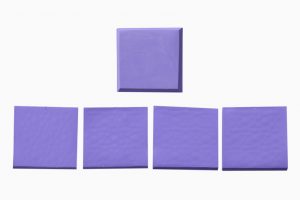
Cut the edges of the smooth square at a 45° angle. Turn the textured squares, so the textured surface is facing down. Cut the bottom edge at a 45° angle and make a mark in the middle of the opposite edge.
Step 4
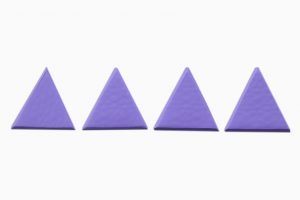
Cut the textured squares so you will have 4 triangles – cut them at a 45° angle. Be precise.
Step 5
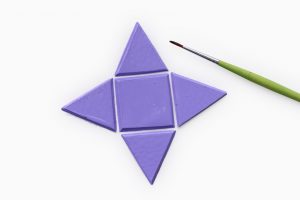
Place all parts in the correct position to make a pyramid and paint the edges with liquid clay.
Step 6

Start lifting the pieces and make the pyramid. Squeeze the edges together and smooth them with your fingers. Make a hole on the top of the pyramid. Bake according to the manufacturer’s instructions.
Step 7
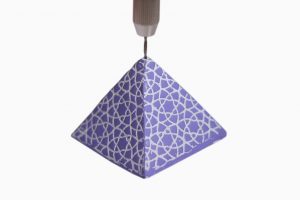
Paint it with acrylic color. Let dry. Rub with fine steel wool or fine sandpaper, so the paint stays only in stays in embossed areas. Drill a bigger hole on the top of the pyramid.
Step 8
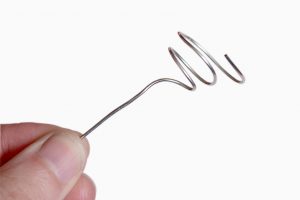
Make a spiral from the wire.
Step 9
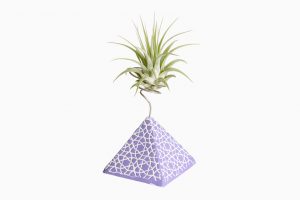
Place the spiral in the hole in the finished pyramid and your tillandsia holder is ready to use.
Download PDF tutorial for free: tillandsia-holder-PDF-tutorial
Leave A Reply