
FLOWING PATTERNS

“Inspired by my love for organic patterns, flowing colour transitions, and the element of surprise that emerges from working with layered clay, Mokume Gane has remained one of my favourite polymer clay techniques over the years,” says Susana Paredes, author of this tutorial.
Inspired by this same fascination and the endless possibilities offered by the Czextruder, Susana created a simple process that combines layered clay, extrusion, and stacking to produce beautiful organic patterns filled with movement, colour, and a touch of sparkle. “Each slice reveals something different, making the creative process just as exciting as the finished piece. I hope you enjoy it,” she adds.

TOOLS AND MATERIALS:
• polymer clay in teal, light beige, green, black, white, translucent, and white gold glitter
• liquid polymer clay
• machine
• scalpel or craft knife
• acrylic block
• acrylic roller
• 45 mm round cutter
• 10 mm round cutter
• signature stamp or decorative embellishment
• parchment paper
• glass or ceramic tile
• sandpaper of various grits
• cord and clasp


1.
Cut strips of each of the three polymer clay colors, about 2.8 mm thick and approximately 3 × 8 cm in size. Layer them by overlapping each strip by about 8 mm.

2.
Run the three strips together through the pasta machine to create a gradient sheet approximately 8 × 8 cm in size, and around 2.8 mm thick.

3.
Condition and cut two sheets of glittery polymer clay, about 1.2 mm thick. Place one sheet on top and the other underneath your coloured sheet to form a three-layer stack.

4.
You will have a sheet of clay as shown in the picture. Check that there are no trapped air bubbles. If you find any, simply remove them using a thin needle or a precision knife.

5.
Prepare one sheet of white clay and one sheet of black clay by mixing approximately 30% translucent clay into each. There is no need to be precise, just enough to add a slight translucency to both colours.

6.
Cut pieces of the black and white clay, about 1 mm thick, and use them to cover both sides of the stack.

7.
Your stack of clay will look like this. Again, check for trapped air and remove any bubbles if necessary.

8.
Begin rolling the stack, starting from the green side, to create a spiral cane with the white layer on the inside. Carefully pinch the starting end of the sheet to compress it slightly, making the thick sheet easier to roll.

9.
Finish rolling the cane and close it carefully, making sure it is completely covered by the black clay. You may cut the ending section diagonally or gently pinch the edges together to make it easier to wrap the black clay around the cane.

10.
Reduce your spiral cane until it fits inside the Czextruder. Fit disc no. 13 and extrude the cane. The cane will likely be quite large, so you can cut it in half and use one portion for this project, saving the other for a future one.

11.
Carefully extrude the clay until the entire cane has passed through.

12.
Cut the extruded cane into sections about 5 cm long, discarding the ends as shown in the picture. You will likely obtain 7–8 pieces.

13.
Stack the pieces together in no particular order.

14.
Place the stack vertically and compress it from the top, allowing it to expand to approximately 18–20 mm in width. The final height will depend on the number of pieces stacked, but aim for each layer to be about 2 mm thick.

15.
Once your stack is ready, place it horizontally on a glass or ceramic tile so it adheres well. Using a wavy blade, begin slicing the clay.

16.
Slice layers from the stack approximately 2–3 mm thick until you reach the end.

17.
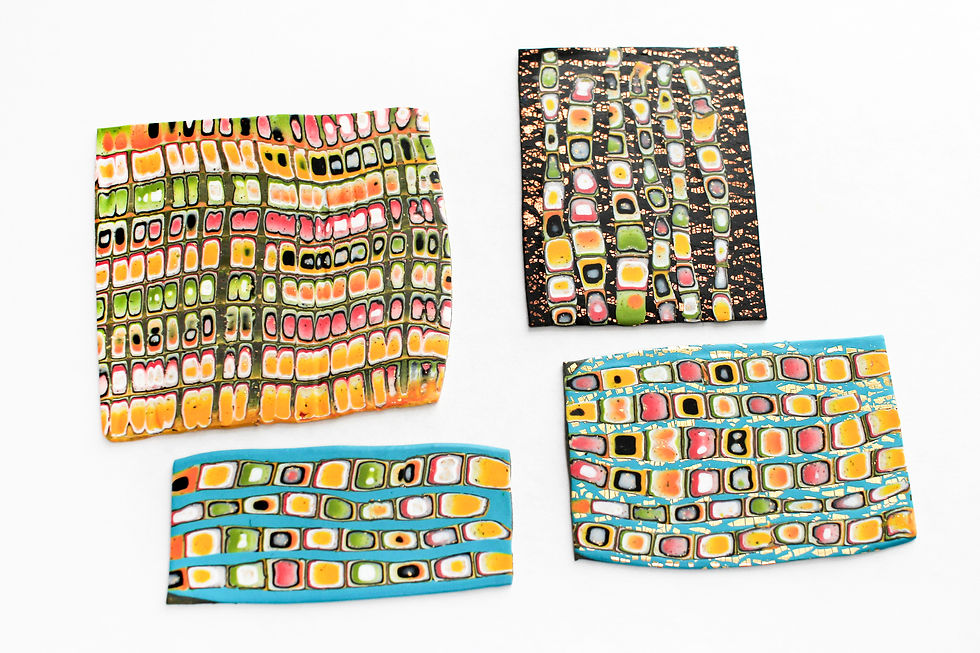
You will obtain a beautiful variety of slices, each with a unique organic pattern containing all of the colours used. Let your imagination guide you in creating stunning pieces from them.

18.
For this project, we will create a very simple pendant. Choose three slices and place them onto a black sheet of clay, about 2 mm thick. Notice that I leave a small gap between the slices so that a little of the black background remains visible in the finished piece.
19.
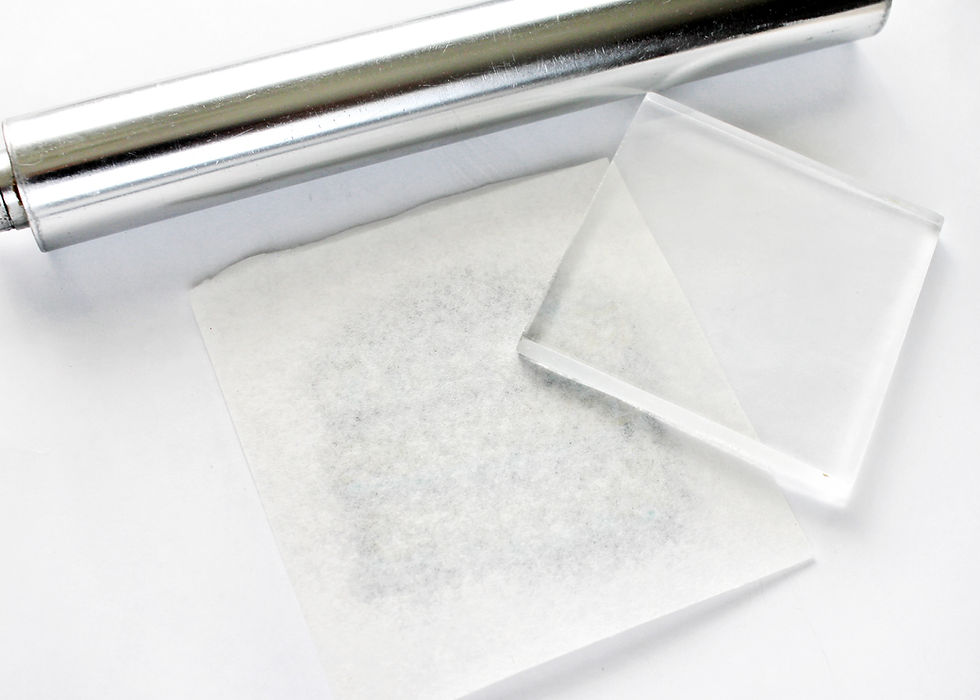
Place a piece of parchment paper over the clay and burnish the surface by first pressing with an acrylic block and then rolling over it with an acrylic roller. For an even smoother finish, you can run the veneer through the pasta machine at a similar thickness setting.

20.
Once your veneer is ready, trim the top edge to create a straight edge and use a round cutter to create a semicircle shape.

21.
Use the mini cutter to create a hole in the top centre of the pendant.

22.
Place the piece over a domed surface and cure it according to the manufacturer's instructions.

23.
Once cured, sand the piece to your desired finish, including smoothing the edges and the inside of the hole. Cut a matching shape from textured black clay, about 1.4 mm thick, to create the backing for the pendant.

24.
Apply liquid clay to the back of the cured piece and carefully place the textured black clay onto it. Press gently with a sponge to ensure there are no trapped air bubbles.

25.
Using a precision knife, trim away the excess clay around the perimeter of the pendant and the hole.

26.
Using the sponge again, gently press the edges to add a subtle texture and achieve the neatest possible finish on the back.

27.
If desired, add your signature stamp or another decorative element to the back, then cure the piece again.

28.
Your pendant is now ready. Add a cord using a simple Lark's head knot, slide on a matching bead as shown, and finish with your preferred closure.
The specific colours used in this tutorial are only suggestions. Feel free to experiment with your own colour combinations and finishes.
And remember, you still have plenty of patterned slices left to work with.


Comments