HOW TO MAKE A KLIMT CANE
- Jan 28
- 2 min read
Updated: Jan 31
One of the easiest and most striking patterns you can create with polymer clay and a Czextruder is the Klimt cane.
Named after Gustav Klimt’s fascination with organic shapes and decorative rhythms, this technique gains an extra layer of magic through the polymer clay process itself, adding unexpected depth and variation with every slice. Shall we dive in?
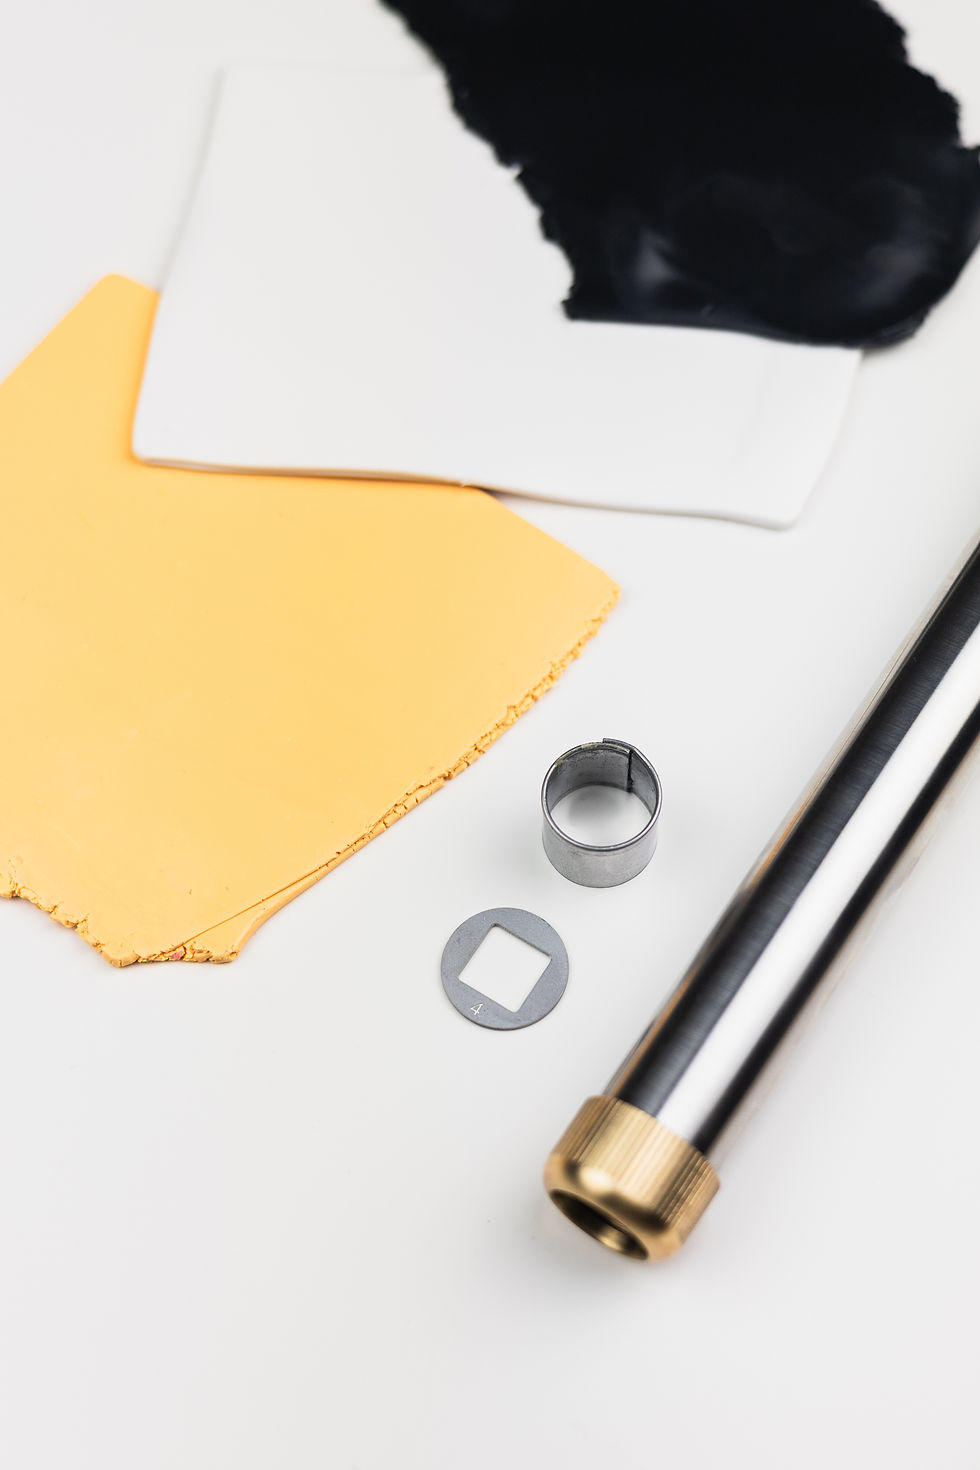
TOOLS AND MATERIALS:
polymer clay in black, yellow, white
1 cm round cutter
machine for polymer clay

1.
Condition all three selected colors of polymer clay using your machine to create sheets approximately 1.2 mm thick. Then roll the black sheet thinner, to about 0.5 mm, as this will create stronger contrast compared to the other colors.
You can, of course, choose your own color palette and explore variations of this technique, discovering the magical results that appear once the cane is extruded.

2.
Using a 1 cm round cutter, cut circles from each prepared sheet. Stack the discs in alternating colors, placing the thin black layer between the lighter colors to build contrast. Press gently to ensure the layers bond well without distorting their shape.
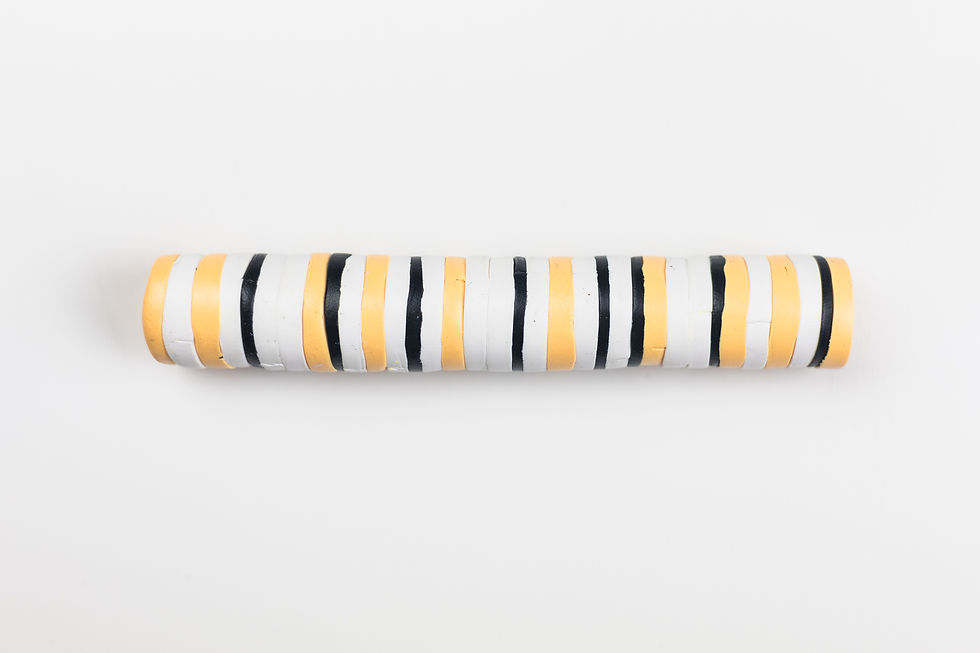
3.
Once all the circles are stacked, carefully roll the assembled piece on your work surface to smooth the sides and form an even cylinder.

4.
Insert the assembled circles into the Czextruder barrel. Place the selected square disc at the front and use the white plug cylinder at the back to push the clay through.
Different discs will shape the extruded string in different ways, offering endless possibilities.

5.
Slowly begin extruding the clay through the Czextruder using the handle or the drill with adapter.
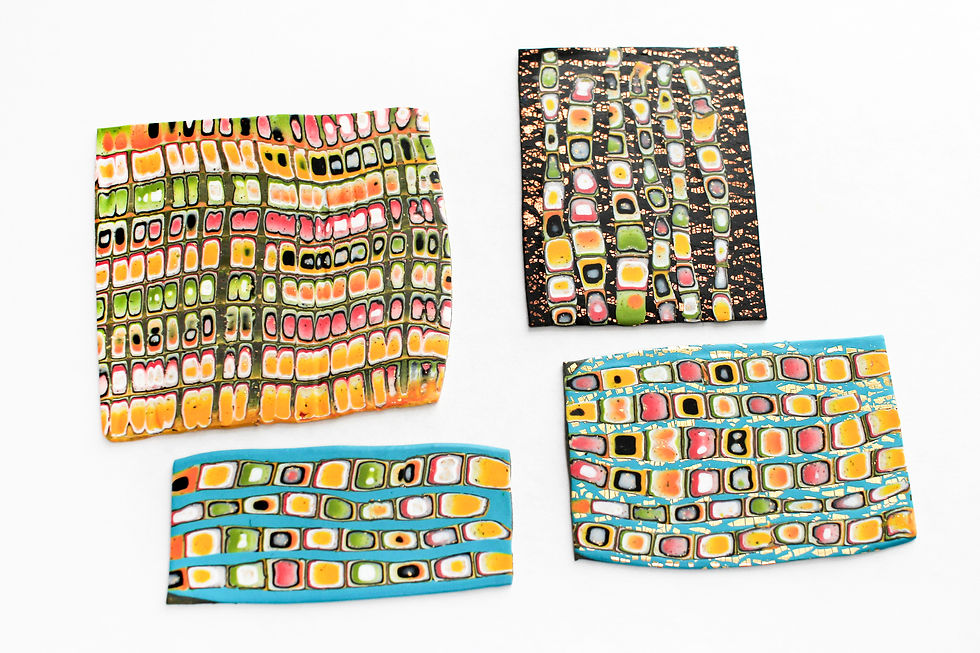
As the clay moves through the barrel and the plug pushes it forward, the stacked layers begin to shift and transform into the characteristic Klimt pattern. The beginning and end of the cane are usually a bit distorted, this is a normal part of the process.

6.
When cutting the extruded clay, you will notice that each section looks slightly different, depending on how the circles were stacked at the beginning of the process.

7.
Connect the cut sections of the extruded cane and use them as a base cane for your upcoming artworks.


Beautiful! Is there a guide/book/tutorials for each of the 120 disks? Where czn we buy it?