
FLOWER CANE
Inspired by a cozy granny square cardigan, this tutorial created by Sandra Callander from Canada will show you how to create a charming flower cane with a retro twist.
Using a combination of simple cane construction and the Czextruder, you'll reduce your design to miniature proportions while maintaining the details. Use the resulting cane to create eye-catching jewellery, home décor, and other polymer clay projects.

TOOLS AND MATERIALS:
• polymer clay: 3 colours for the flowers and 1 background colour
• Czextruder with a square disc no. 3 or 4
• machine
• 2 cm round cutter
• blade
• acrylic roller


1.
Prepare your clay by conditioning all the colours and sheeting them on the thickest setting (approximately 3 mm).
2.
Cut 2 × 2 cm circles from each of the three flower colours for the flower centres. Pair up the circles and roll the clay into a 2 cm cylinder.

3.
Wrap each cylinder with a different colour rolled out on the thickest setting.
4.
Cut out 12 more 2 × 2 cm circles from each colour. Smoosh the matching circles together and roll them into a log about 6 cm long. Flatten the log slightly and cut it in half lengthwise.
5.
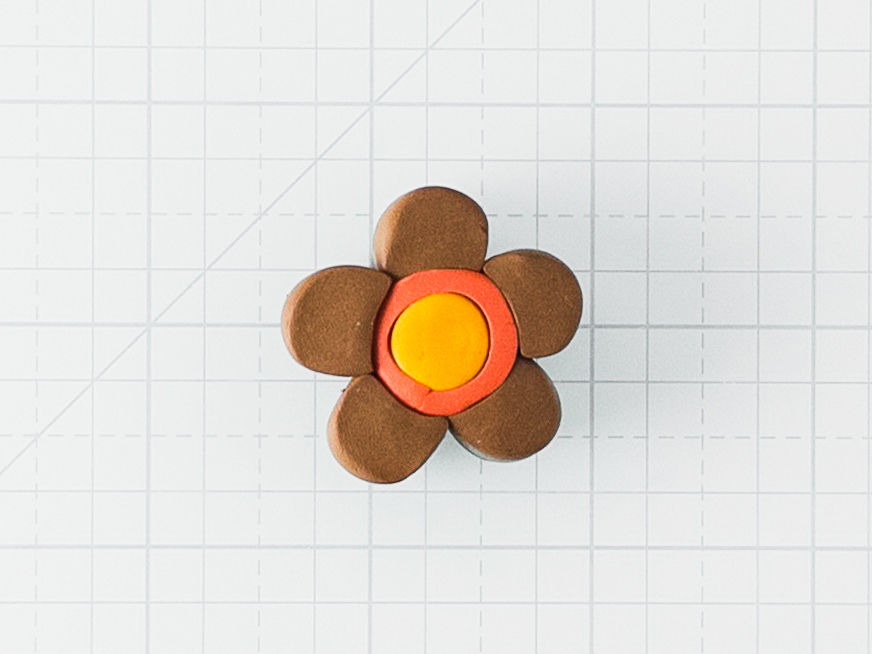
Cut one half-log into three equal lengths and arrange five of the six pieces around a flower centre (the sixth piece won't be used). Pressing a curve into the cut side of the petals with the side of a marker or something similar will help shape each petal to fit around the flower centre. Repeat with the other two flowers.

6.
Each flower should have all three colours, but in a different arrangement from the others.

7.
Fill the spaces between the flower petals with a snake of the background clay, pinched into a triangle shape with rounded sides to fit the petals.

8.
Roll out the remaining background clay to approximately 2.25 mm thick. Wrap each flower twice with a sheet of this clay.
9.
Reduce each flower until it fits inside the barrel of the Czextruder. Cut off one of the distorted ends and cap it with a thick disc of background clay.

10.
Load one of the canes into the Czextruder so the capped end comes out first. Fit the square disc no. 3 or 4 onto the Czextruder barrel and extrude the clay. Trim away the distorted ends until you reach a clean flower design. Repeat with the other two canes.

11.
Measure the length of the extruded flower canes. If one is shorter than the others, use that measurement and divide it by six. Using this measurement, cut each extruded flower cane into six equal pieces.

12.
Assemble the cane using a repeating pattern with six pieces across the bottom and three rows high. Pay close attention as you build each row so the pattern repeats seamlessly. Press lightly along each side to ensure the pieces are well joined, then gently roll each side with a roller to straighten them. If you want to reduce the cane further, let it rest for at least one hour (overnight is even better) before doing so. Freshly extruded clay is quite soft, and reducing the cane immediately will likely cause distortion.


Comments