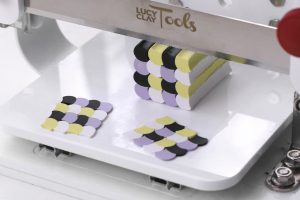
Wonder what you can make with LC Disk 7? Here are quick tutorials.
BASKET PATTERN
Step 1
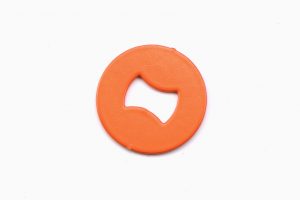
Prepare ‘bow’ disc from the LC Disk 7 and polymer clay in two colors.
Step 2
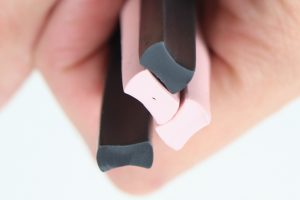
Extrude clay through the disc. Cut all extrusions into smaller pieces.
Step 3
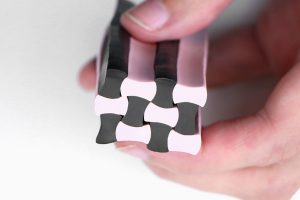
Assemble the cane.
Step 4
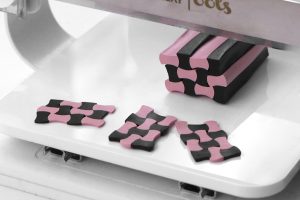
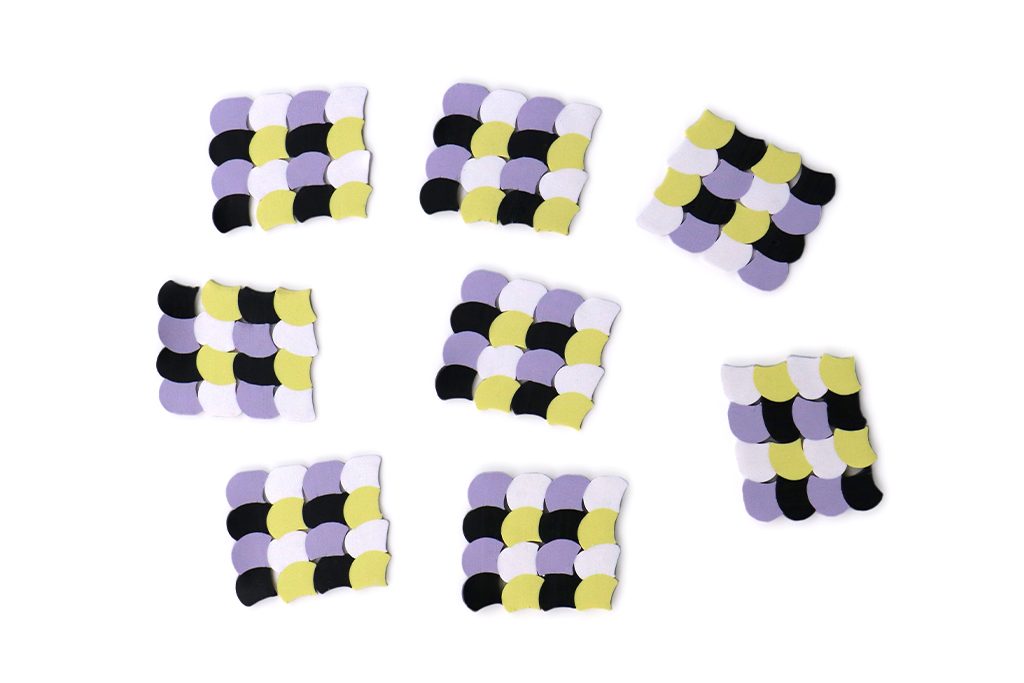
Slice the cane and use it in your project. You can use LC Slicer or LC Mini Slicer for precise slices.
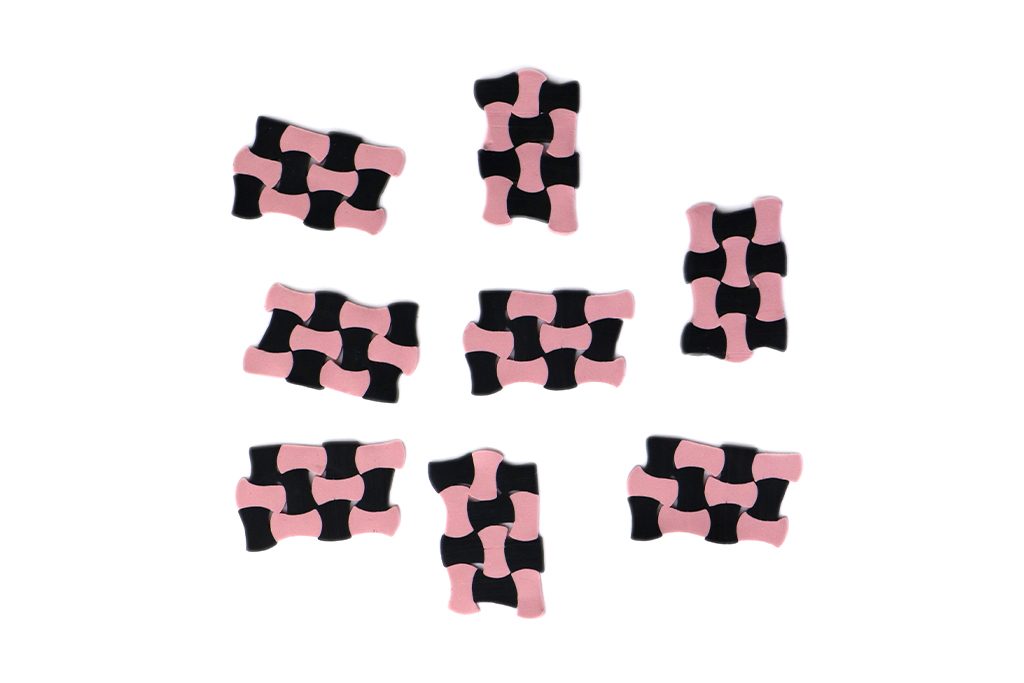
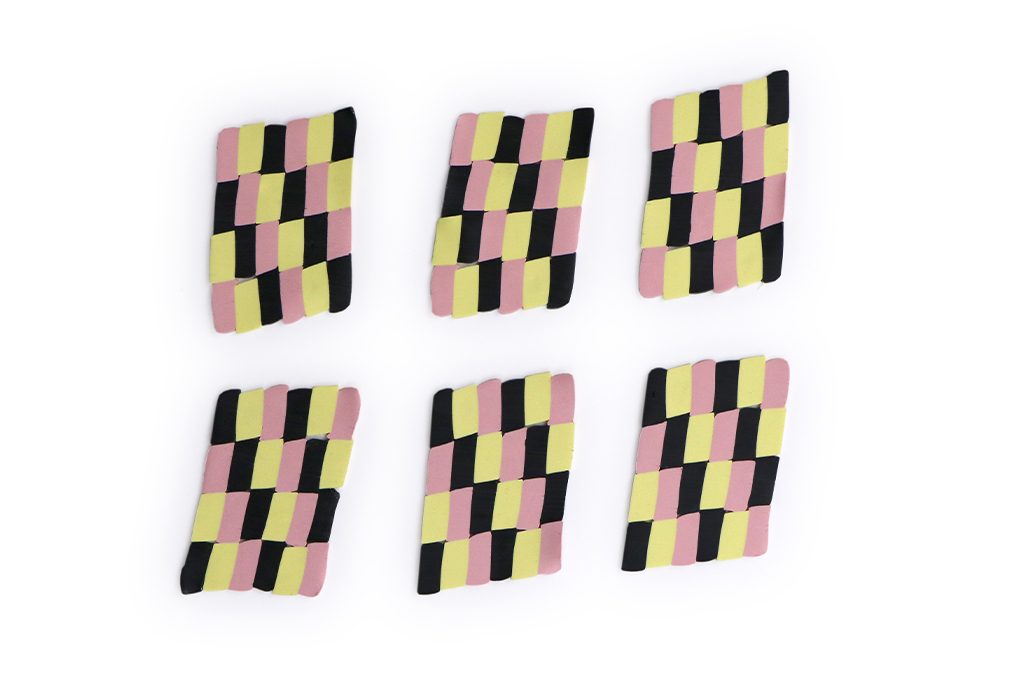
GEOMETRICAL POP-ART PATTERN
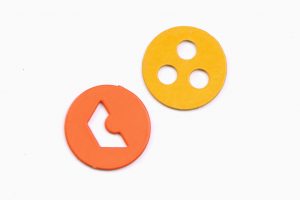
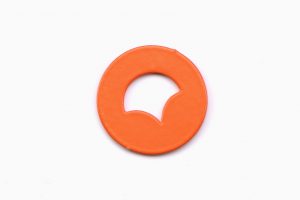
Step 1
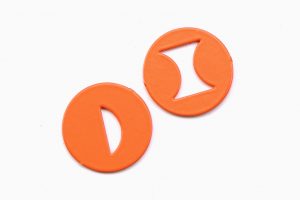
Prepare these two disks from the LC Disk 7. For this pattern, you will also need pink, black, and white clay.
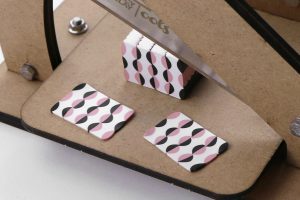
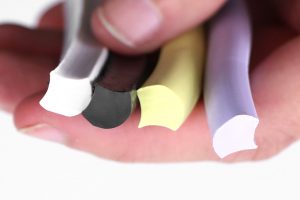
Step 2
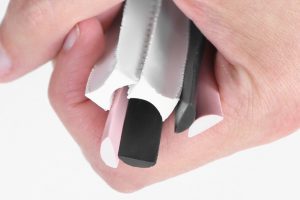
Extrude white clay through the bow disc. Then extrude the pink and black clay through the other disc. Cut all extrusions into smaller pieces.
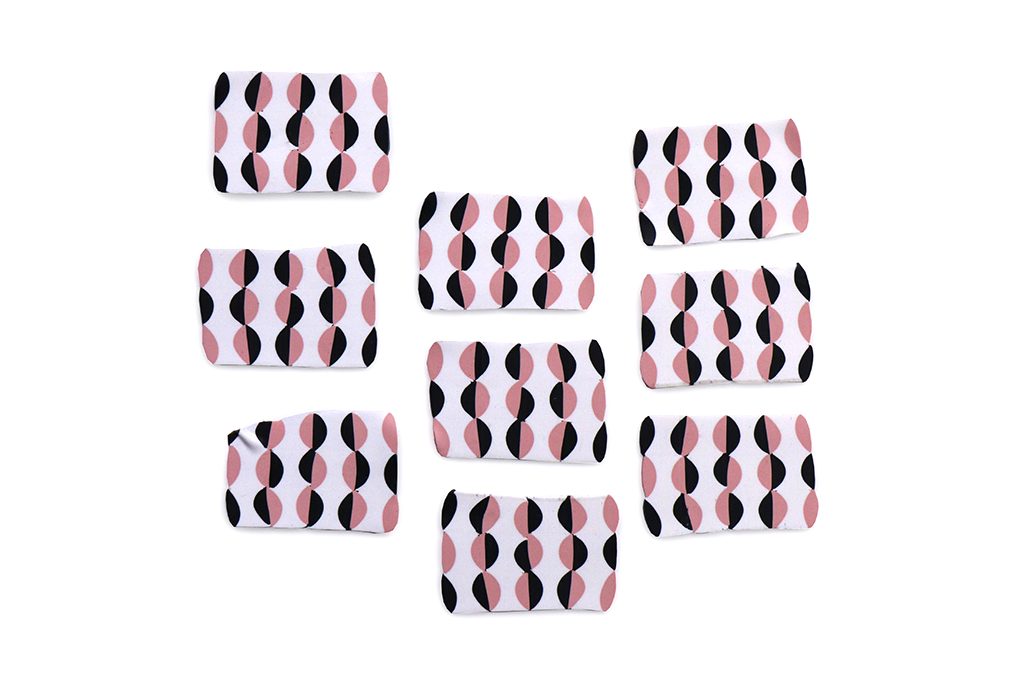
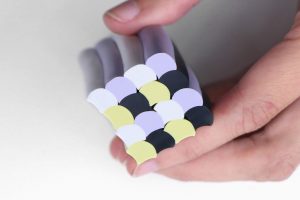
Step 3
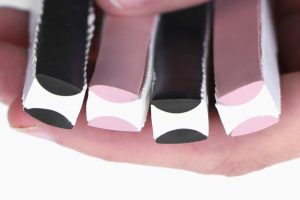
Take two black semicircle extrusions and place them on both sides of the white shape. Continue the same way but with the pink extrusions.
Step 4
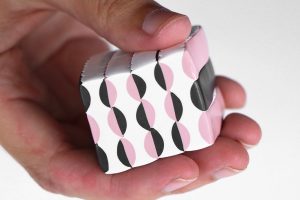
Make a bigger cane.
Step 5
Slice the pattern using LC Slicer or LC Mini Slicer.
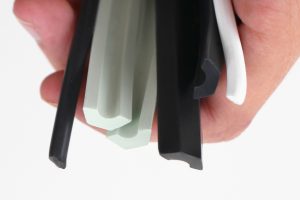
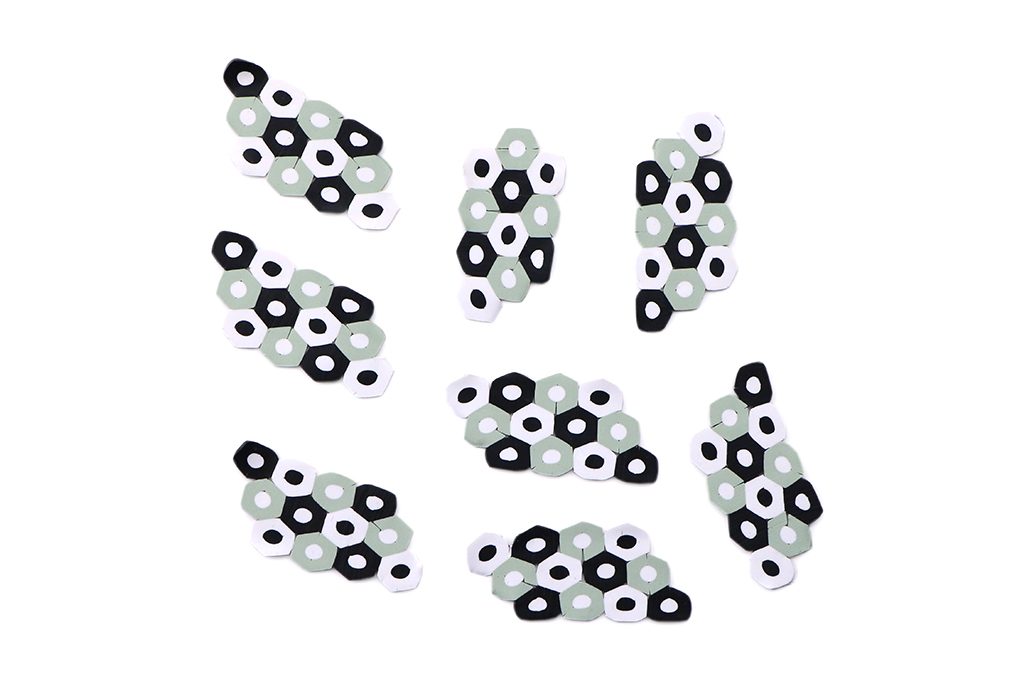
HONEYCOMB PATTERN
Step 1
For this pattern, you will need a honeycomb disc from the LC Disk 7, a disc with 3 holes from the LC Disk 2, and polymer clay in three contrast colors.
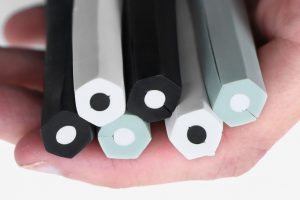
Step 2
I chose green, black and white colors. Extrude green, black and white clay through a honeycomb disc. Then extrude black and white clay through a disc with 3 holes. Cut all extrusions into smaller pieces.
Step 3
Take one circular extrusion and place it between two extrusions. Repeat to make more hexagonal canes.
Step 4
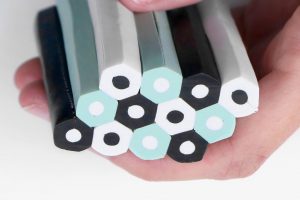
Press canes together to make a bigger cane.
Step 5
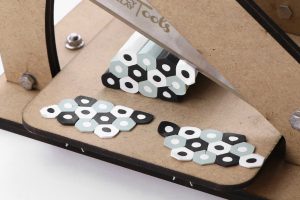
Slice the cane and use it in your project.
PARALLELOGRAM PATTERN
Step 1
You will need a Czextruder, the parallelogram disk, and tree colors of polymer clay.
Step 2

Extrude all colors one by one using Czextruder with the disk inside. Cut the extrusions into pieces of the same length.
Step 3
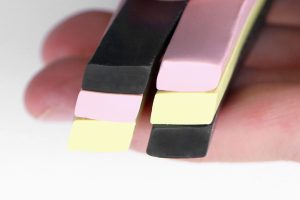
Take three extrusions and put them together next to each other.
Step 4

Assemble a bigger cane.
Step 5
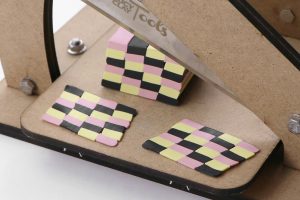
Slice your cane.
ROOF PATTERN
Step 1
You will need polymer clay in 4 colors and the ‘roof tile’ disc from LC Disk 7.
Step 2
Put the clay into your Czextruder and extrude the clay. Extrude all colors through the same disc.
Step 3
And put all extrusions together.
Step 4
Use it in your project. You can use LC Slicer or LC Mini Slicer to make even slices.
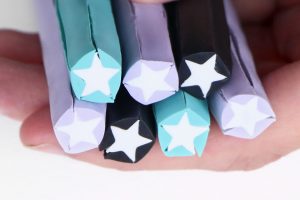
STAR PATTERN
Step 1
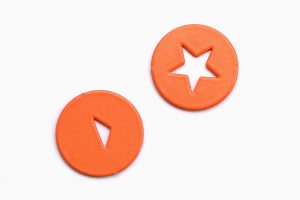
You need two discs – the star and the triangle from LC Disk 7. I used polymer clay in 4 colors: turquoise, violet, black and white.
Step 2
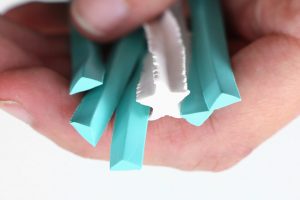
Extrude white clay through the star disk. Then extrude other colors using the triangle disk. Slice the star and triangle extrusions into smaller pieces.
Step 3
Place triangle extrusions around a star shape. Then gently press the cane together. Continue with all the other colors.
Step 4
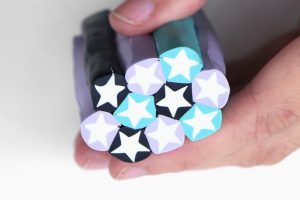
Make a bigger cane.
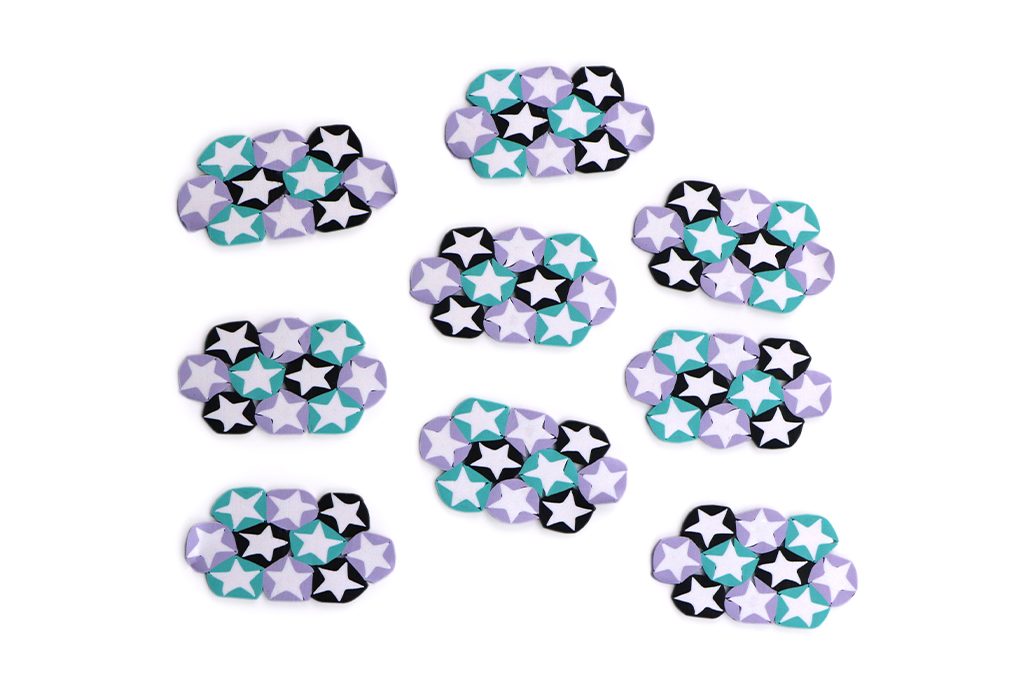
Step 5
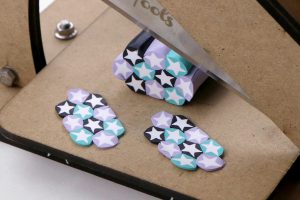
Slice the pattern using LC Slicer or LC Mini Slicer.
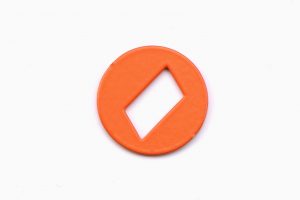
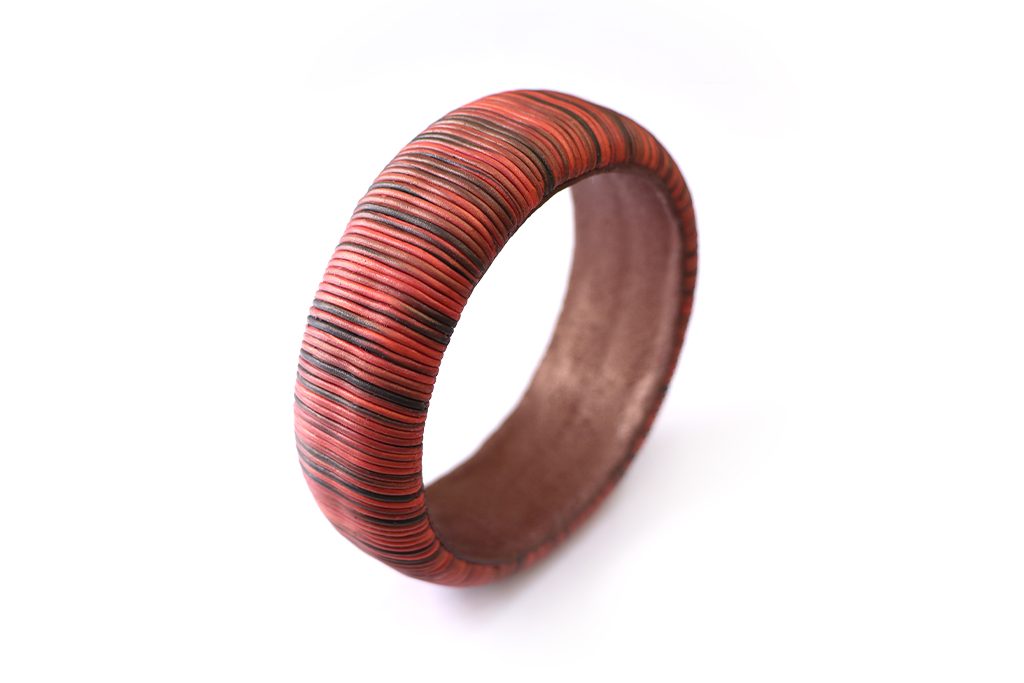
CIRCLE CANE
Step 1
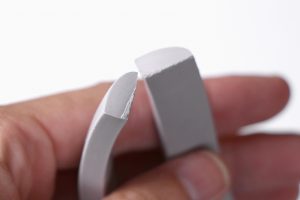
Condition some scrap clay and press it through the Czextruder with the quarter ellipse disc (Disk 7).
Step 2
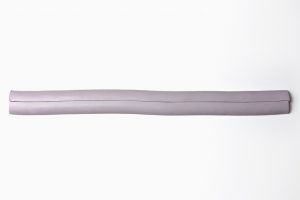
Cut the extrusion into two parts of the same length. Use liquid polymer clay and glue them together.
Step 3
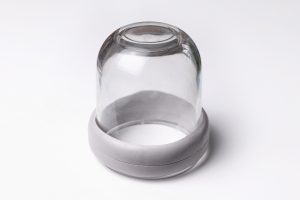
Wrap the clay around the mold and connect the ends. Smooth the connection and bake it according to the instructions. Let it cool down and remove the mold.
Step 4
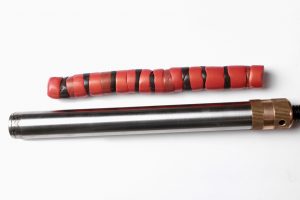
Then you can finally decorate it. Condition polymer clay and prepare rolls of clay in 3 colors. Cut the rolls in smaller parts. Arrange the colors randomly and press them together.
Step 5

Put it into the Czextruder and extrude through the disc with small holes (LC Disk 3).
Step 6

Cut the extrusions into smaller parts. Apply liquid polymer clay on the bangle. Then start to place the extrusions on the bangle.
Step 7
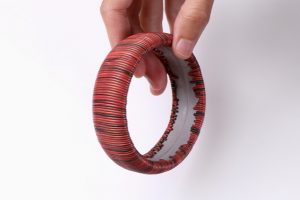
Cover the whole bangle this way.
Step 8
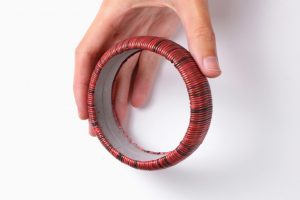
Cut off the excess clay inside the bangle.
Step 9
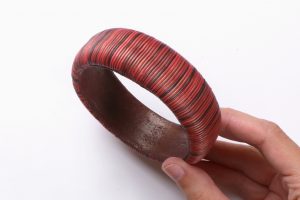
Make a sheet from polymer clay. Spread a liquid clay on the inner side of the bangle and stick the sheet in. You can texturize it. Bake it again and your bangle is ready.
Download PDF tutorials for free: lcd7-patterns-from-czextruder-PDF
Find more in Tutorials by Lucy Štruncová.
Leave A Reply