You liked my first basket weaving tutorial. So I decided to make another, slightly different basket.
About the author

Petra Vilímková
Petra lives near Pilsen, Czech Republic. Ever since childhood, she has loved learning new craft techniques. By age fifteen, she began studying art at various art schools in Pilsen before receiving a Bachelor of Arts degree in Industrial Design at the Ladislav Sutnar Faculty of Design and Art, University of West Bohemia. She has been working for LUCY CLAY since 2014.
Materials and tools:
- Polymer clay (colors of your choice)
- Machine
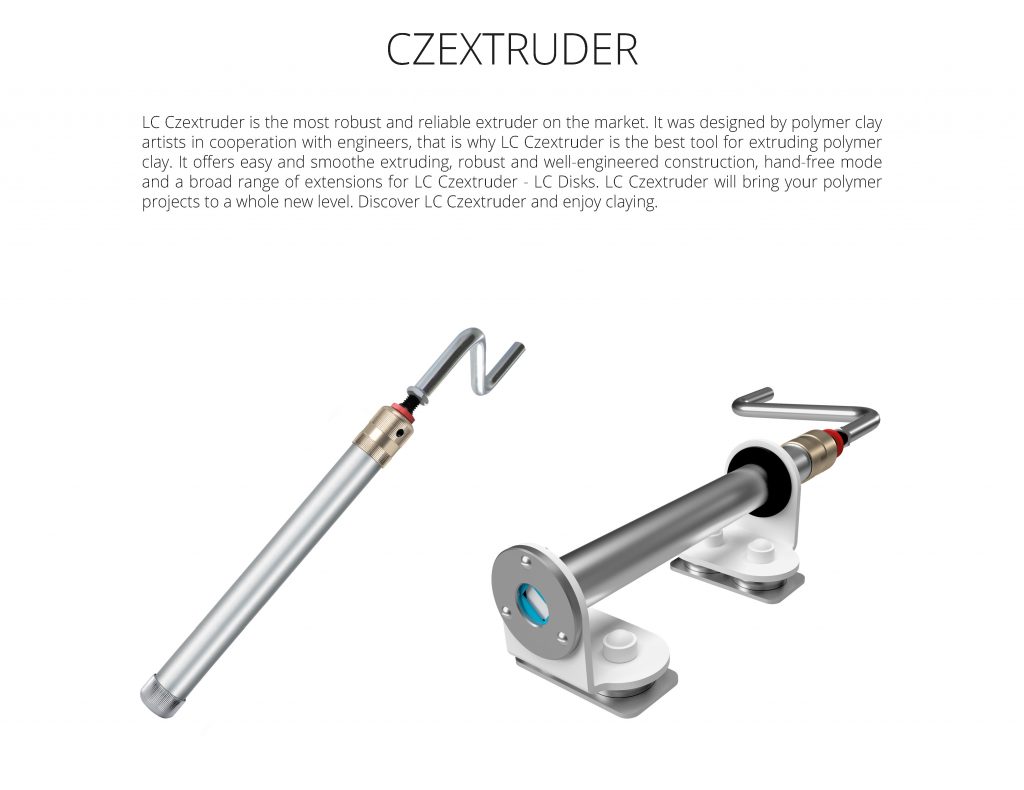
- Czextuder + LC Disk 1 (extension with 3 small holes)
- Scalpel, blade
- Bowl (mold)
- Baking paper
Step 1
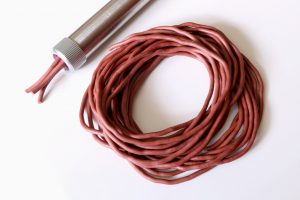
Condition polymer clay, I used KatoPolyclay. Put the clay into the Czextruder. Use the extension with 3 holes from LC Disk 1 and extrude the clay.
Step 2
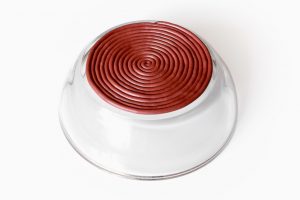
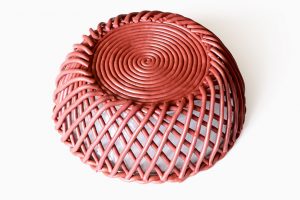
Let’s make the bottom of the basket. Prepare your mold. Cut a circle from the baking paper and place it on the bottom of the mold. Later, it will make the removal easier. Begin to coil the extrusion to make a spiral. Make the whole bottom and cut off the excess clay. Cut a circle from a polymer clay sheet and place it on the spiral. Then place another spiral on it.
Step 3
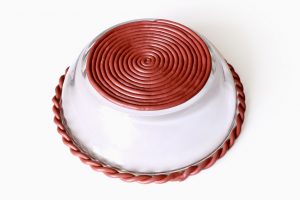
Take two extrusions and twist them around each other to create one long thread.
Place it around the rim of the mold. Cut off the excess and connect it.
Step 4
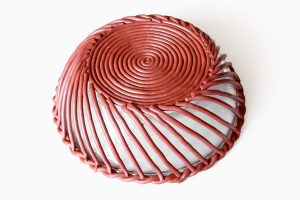
Extrude more clay and start connecting the bottom with the rim.
Step 5
Make another layer the same way but place the extrusions in the opposite direction.
Step 6
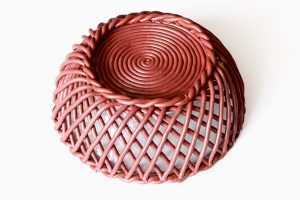
Place one thread around the bottom to mask the connections.
Step 7

Now make another thread but twist it in the opposite direction than you did before. Place it around the rim to mask the connections.
Make sure everything fits properly. Bake it according to the manufacturer’s instructions.
Step 8
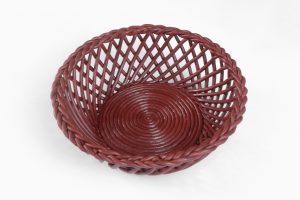
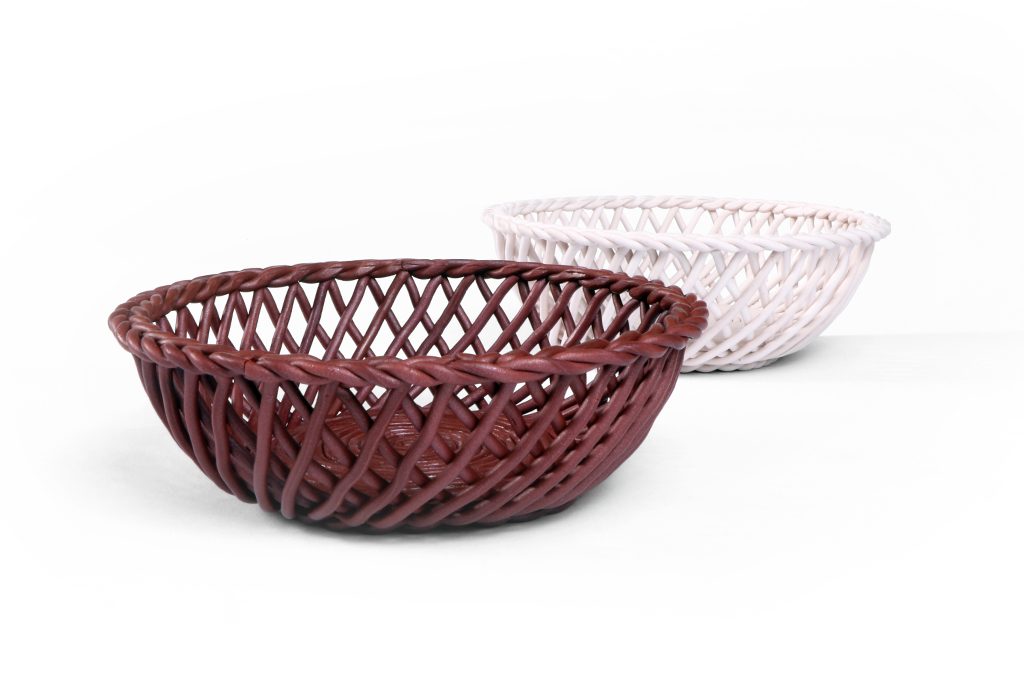
Let it cool down. Remove it from the mold, and your basket is ready.
Download PDF tutorial for free: polymer-clay-basket-PDF-tutorial
Leave A Reply