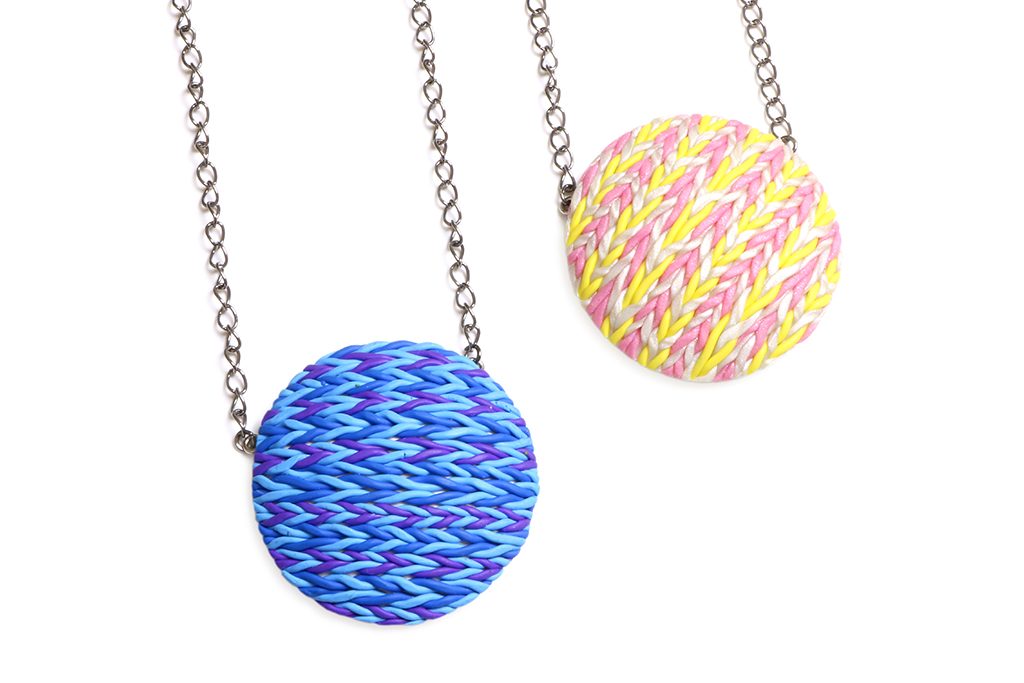
Learn how to use Czextruder and discs with holes from LC Disk 1 or LC Disk 3 to make knitted pendants from polymer clay.
About author

Kája Koutová
Kája has been exploring art ever since she could hold a pencil. The love for art, architecture, and photography has led her to Pilsen’s Secondary school of Civil Engineering, where she’s currently studying. There, she developed a passion for the Science and Math behind materials, something that she wants to pursue in the future. Only recently did she delve into polymer clays after starting work at Lucy Clay in 2020.
Materials and tools:
- Polymer clay (light and dark blue, purple and white)
- LC Machine
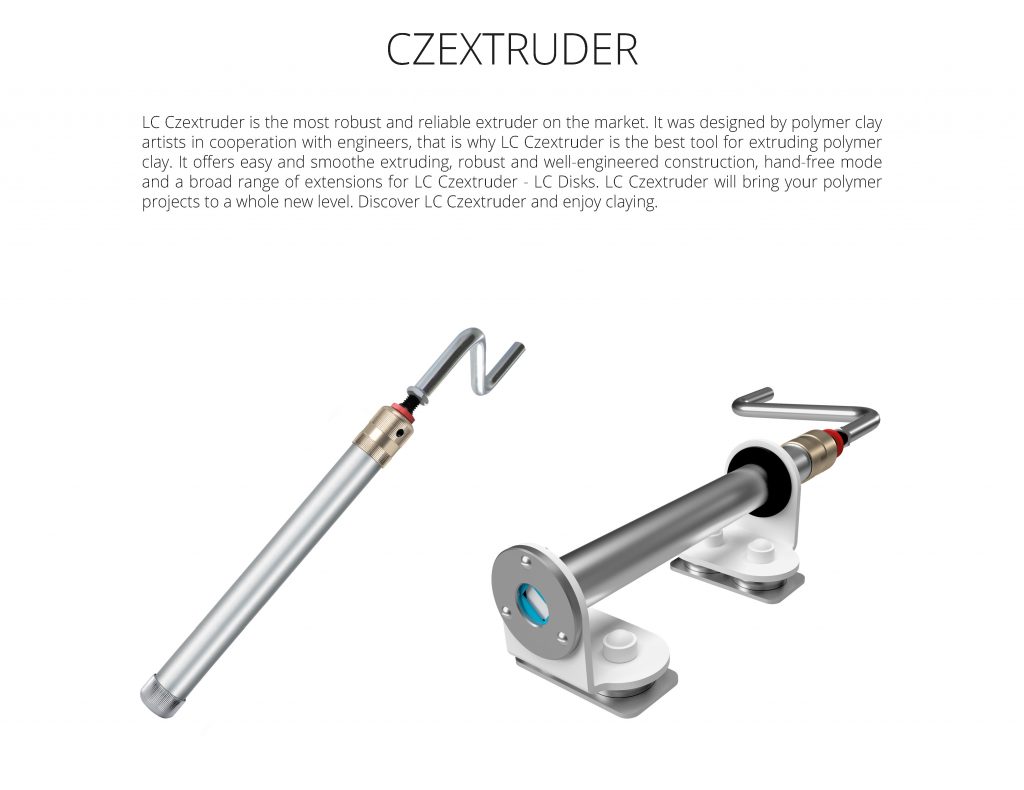
- Czextuder + LC Disk 1 or 3 (extension with small circle holes)
- Circle cookie cutter
- Half-sphere metal baking mold
- LC Glassymer Glue or liquid clay
- Texture sponge
- Mini-drill
- 2 screw eyes, 2 jump rings, and chain
Step 1

Condition polymer clay. Extrude light blue, dark blue, and purple clay through the disc with small circle holes (LC Disk 1 or 3).
Step 2

Take 2 strands of a different color (light blue and dark blue) and twist them around each other.
Step 3
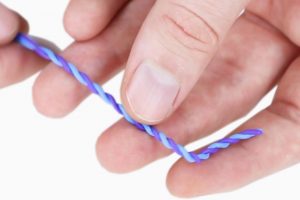
Repeat the previous step, but twist the strands around each other in the other direction.
Step 4
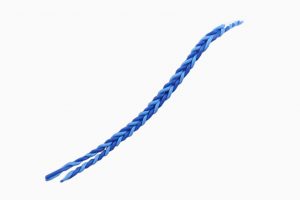
Place the two snakes together so the two twisted polymer strings connect. It should look like a braid.
Step 5
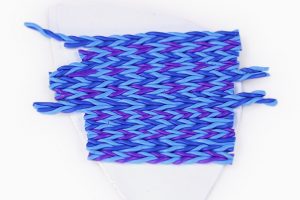
Make another braid – now use light blue and purple strands. Then make a thin sheet of white clay and cover it with braids.
Step 6
Cut using a round cookie cutter and remove the excess clay.
Step 7
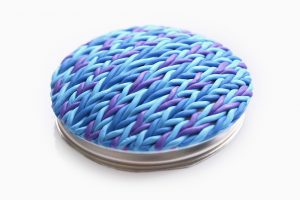
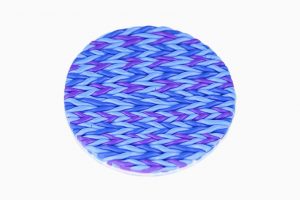
Place it on the metal baking mold. Bake according to the manufacturer’s instructions.
Step 8
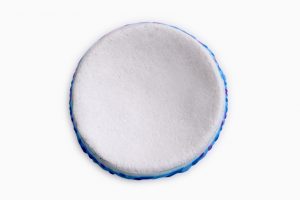
Make a thin sheet of white clay and texturize it with a sponge. Cut out the circle – use the cookie cutter you have already used. Then cover the backside of the baked part with liquid clay and glue the white circle in. Bake again.
Step 9
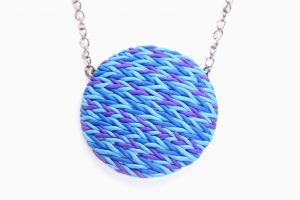
Drill 2 holes. Then screw in the screw eyes and hang the pendant on the chain.
Download PDF tutorial for free: czextruder-knitted-pendants-kaja-koutova-PDF-tutorial
Leave A Reply