About the author
 Věra Šulcová
Due to improperly chosen fields of study and three children, I became a housewife. About ten years ago I discovered the magic of polymer clay and five years ago, when the last “bird” left the family nest, I became addicted. Since then I have been playing with polymer clay and I having a great time almost constantly.
Materials and tools:
• Premo polymer clay (white and brown)
• Pasta machine, acrylic roller
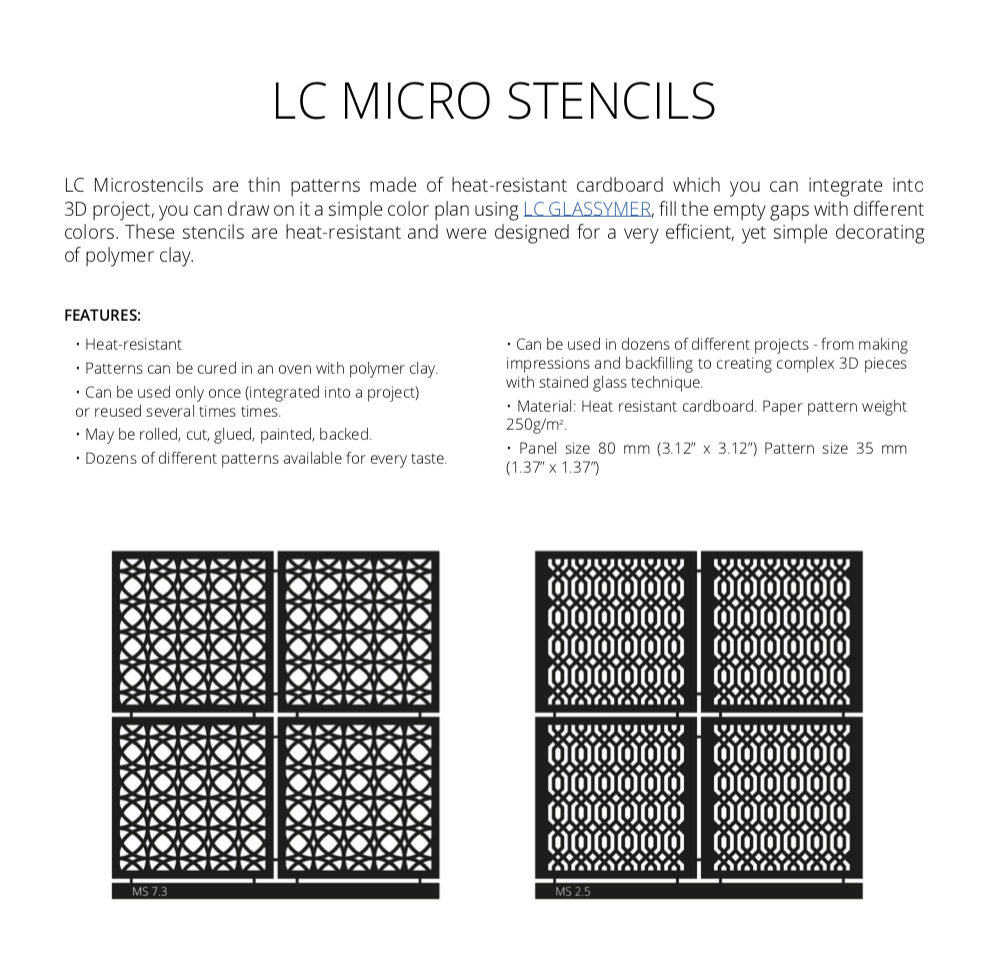
• LC Microstencils
• Acrylic paints (brown, pink, turquoise)
• Tiny cutter 1.2cm / 0.47” high
• Cylindrical would approx. 5 cm / 1.97” in diameter (e.g. a glass, a bottle, a paper tube)
• Translucent liquid polymer
• Czextruder, extensions (discs for Czextruder)
• Glass tile, foam sponge, rigid blade, flexible blade
• Baking paper, sponge or sandpaper, linen elastic band, needle, thread
Step 1
Run conditioned white clay through the pasta machine at a medium setting (Imperia No. 3) and place it on the tile. Cover with an LC Microstencil, roll it into the clay with a roller. Cut off the excess clay. Apply acrylic paints (I use a foam sponge), remove the Microstencils and immediately rinse with water. Remove the patterned piece from the tile. Run brown clay through the pasta machine (Imperia No. 4), place the patterned pieces on it, smooth with a roller through the baking paper.
Step 2
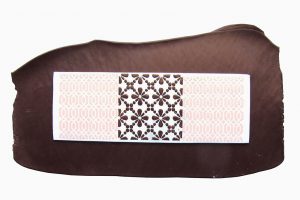 Run brown clay through the pasta machine (Imperia No. 4), place the patterned pieces on it, smooth with a roller through the baking paper.
Step 3
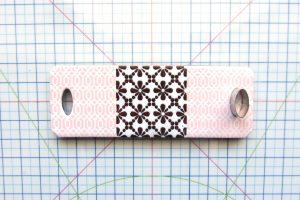
Cut off the outer edges (the width according to the pattern, the length should be approx. 9.5 – 10 cm / 3.74 – 3.9”). You may slightly round the corners. Use a small cutter to cut two holes at a distance of approx. 5 mm / 0.19” from the edges. Remove from the tile, transfer to a cylindrical mould and bake (15 minutes at 130°C / 266°F).
Step 4
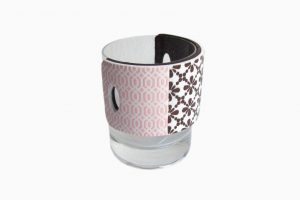
After cooling, coat the piece with translucent liquid (to fix acrylic paint) and bake again. Peel off the mould and sand the outer edges.
Step 5
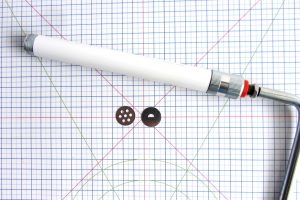
Insert the half-circle extension into the Czextruder at the same time as a circle extension 3 mm / 0.12” in diameter. (You may use half-circle extrusion from LC Disk 8 instead.) Extrude brown clay, apply a bit of liquid polymer on the edges and hem the outer edges using the extrusion. Bake again (15 minutes and 130°C/266°F).
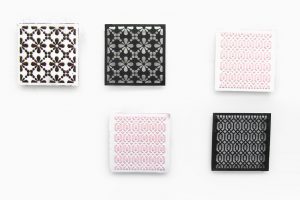
Step 6
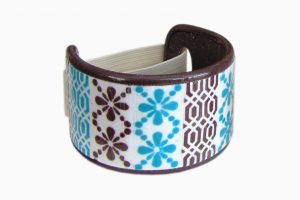
If you coat the clip with clear varnish, it will crack due to the elasticity and create a cracked texture.
Cut approx. 10 cm / 3.93” of linen elastic band 1 cm / 0.39” wide, thread it through both edge holes and sew the ends (with a slight overlap).
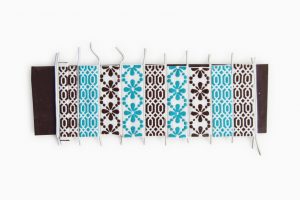
The turquoise-brown clip was created in exactly the same way, I only separated the individual pieces of the patterns with white extrusions 1 mm in diameter.
Download PDF tutorial for free: Clips-for-crochet-scarves-vera-sulcova


Leave A Reply