Use LC Shape Plate 19 and other tools from LUCY CLAY to create a simple brooch from polymer clay.
About the author

Petra Vilímková
Petra lives near Pilsen, Czech Republic. Ever since childhood, she has loved learning new craft techniques. By age fifteen, she began studying art at various art schools in Pilsen before receiving a Bachelor of Arts degree in Industrial Design at the Ladislav Sutnar Faculty of Design and Art, University of West Bohemia. She has been working for LUCY CLAY since 2014.
Materials and tools:
- Polymer clay (white, violet and black)
- Machine
- Metal ball tool
- LC Slicer or LC Minislicer
- LC Angle Base (for LC Slicer only) or Acrylic block
- Blade
- Scalpel
- Roller
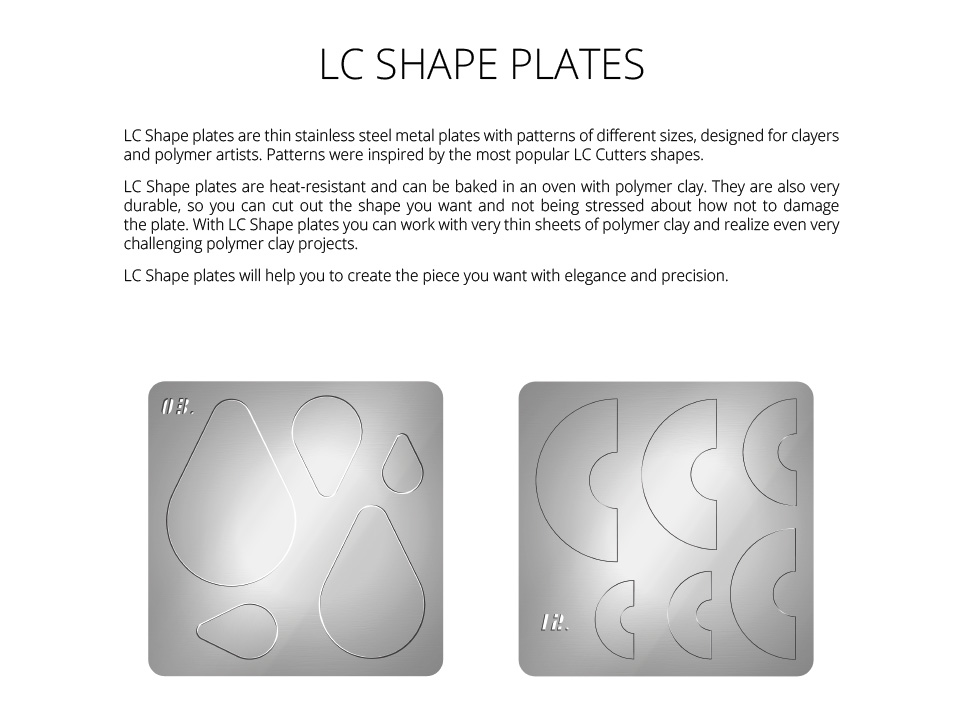
- LC Shape Plate 19
- Sandpaper (Fine)
- Liquid clay
- Texture sponge
Step 1

Condition white and violet polymer clay and run it through the machine at the thinner settings (about 1 mm). Cut 4 squares (about 5 x 5 cm) from both sheets. Then stack the squares on top of each other.
Step 2
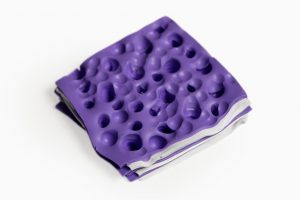
Use a ball tool and texturize the surface.
Step 3
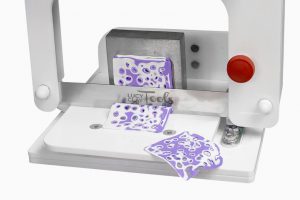
Place the texturized block on the LC Angle Base or an acrylic block. Then cut thin slices using LC Slicer or LC Mini Slicer.
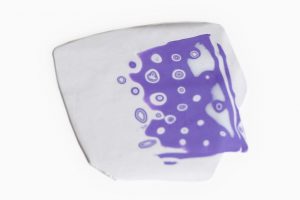
Step 4
Choose the best slice and cut out the part you want to use.
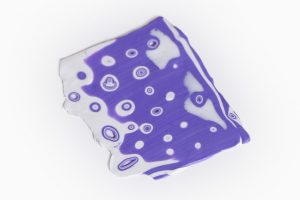
Step 5
Condition white clay and run it through the machine at thicker settings (about 2 – 3 mm). Then roll the slice into the clay with an acrylic roller.
Step 6
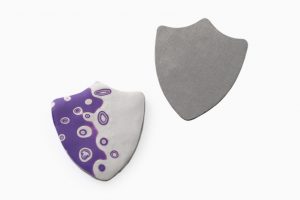
Cut the shape using LC Shape Plate 19 and bake according to the manufacturer’s instructions. Let it cool down and sand it if needed.
Step 7
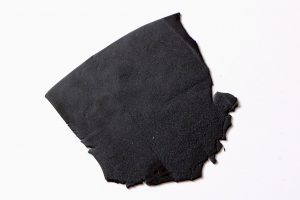
Condition black clay and run it through the machine at thinner settings. Then texturize the sheet with a sponge.
Step 8
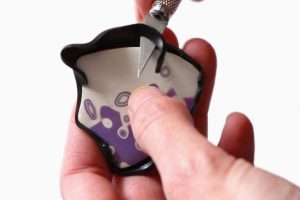
Turn the sheet over so that the textured surface is facing down. Apply liquid clay and place the baked part on the black sheet of clay. Cut off the excess clay, but the black sheet should slightly overlap. Press the overlapping clay to the edges and cut off the excess. Smooth the edges using the sponge.
Step 9

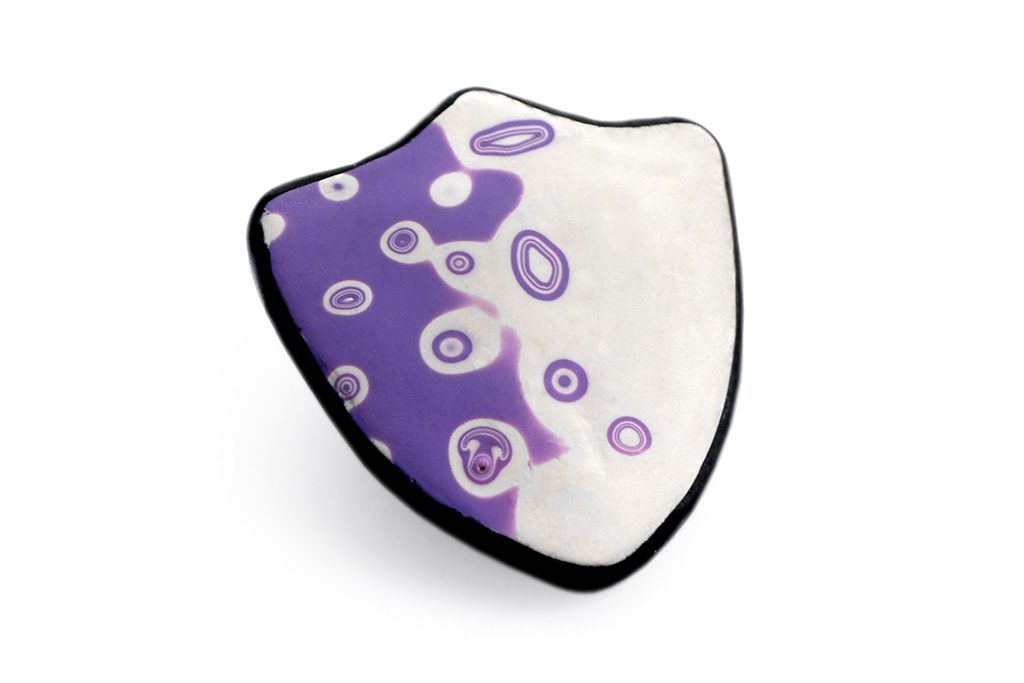
Cut a hole for a brooch pin. Then place a brooch pin and place the clay back and smooth the surface using the sponge. Bake according to the manufacturer’s instructions and your brooch is done.
Download PDF tutorial for free: shield-brooch-PDF-tutorial
Leave A Reply