About the author
 Věra Šulcová
Due to improperly chosen fields of study and three children, I became a housewife. About ten years ago I discovered the magic of polymer clay and five years ago, when the last “bird” left the family nest, I became addicted. Since then I have been playing with polymer clay and I having a great time almost constantly.
Materials and tools:
• Polymer clay in white and blue (Premo), translucent (Cernit)
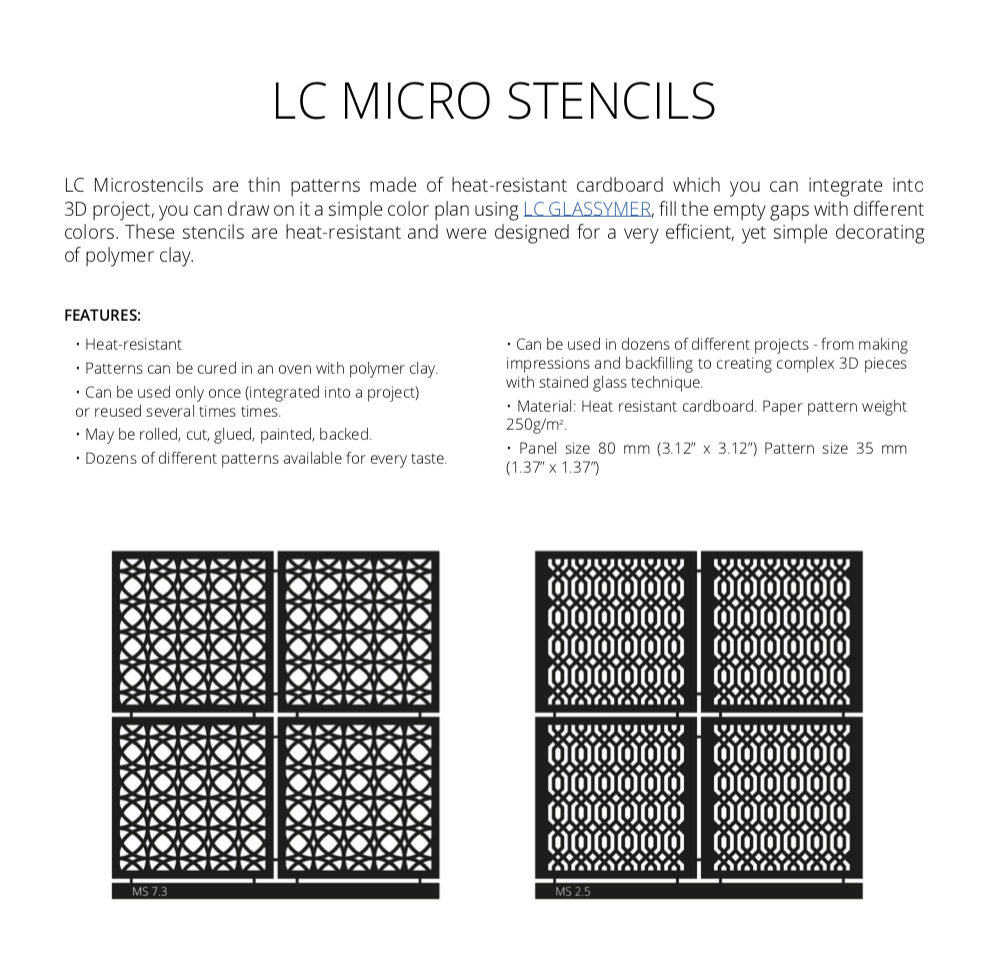
• LC Microstencils Set 12 (Butterfly)
• White acrylic paint
• Blue and purple Pan Pastels
• Rectangular cutter (or a paper template) 3.8x3cm/1.5×1.18”
• Cylindrical mold with a diameter of about 6 cm (a metal can)
• Translucent liquid
• Pasta machine, acrylic roller
• Mat (glass or ceramic tile), foam sponge
• Baking paper, scissors, Working Grid
• Flexible knife, Slicer Blade (Sharp rigid knife), scalpel
• Abrasive sponge, wet wipes, 2mm/0.08” drill, elastic cord, clear nail polish
Step 1
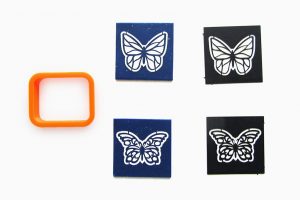
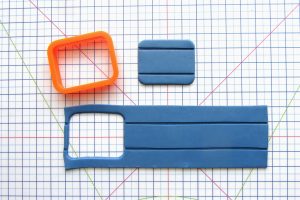
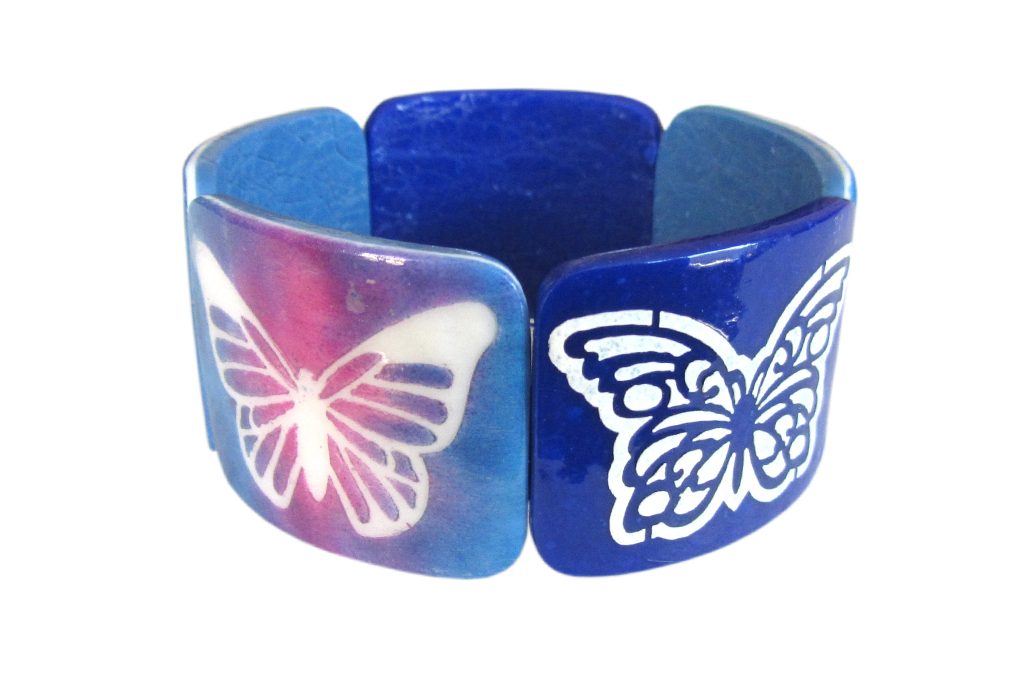
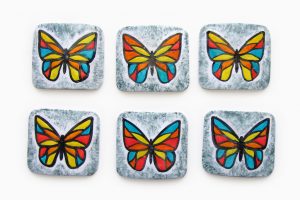
Parts with acrylic paint: Run the dark blue clay through the pasta machine at the medium setting (Imperia No. 3), place a Microstencil with black borders on the clay. Roll the Microstencils into the clay with a roller and apply a thick layer of white acrylic paint (I used a foam sponge). Remove the Microstencils with the tip of the scalpel and rinse it immediately. After the paint has dried, place baking paper on it and roll it over using a roller. Use a flexible knife to remove it off the mat, cut out a rectangle and place the piece on the metal can. After baking (15 min at 130°C/266°F) and cooling, apply a thin layer of liquid polymer to the motif and bake again. (To fix acrylic paint).
Step 2
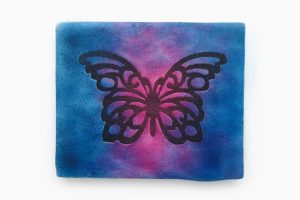
Pieces with Pan Pastels: Run white clay through the machine at a thinner setting than the previous one (Imperia No. 2), cut a rectangle of approx. 3.5×4.5cm/1.38×1.77” with a knife and cover with a Microstencil (now without borders). Roll the Microstencil into the clay with an acrylic roller and apply Pan Pastel with a foam sponge. Cut off the clay from the tile, bend the clay to remove the Microstencil. Wipe the Microstencil with a damp cloth.
Step 3
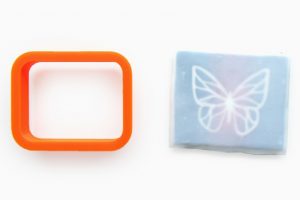
Run translucent Cernit through the machine at the thinnest possible setting (Imperia No. 1) and stretch it with your hands to the sides so that it is as thin as possible. Place it on the coloured layer and roll it over the baking paper. Remove from the tile, cut out a rectangle and place it on the can. After baking (15 min at 130°C/266°F) put these pieces into ice-cold water to make the Cernit clay translucent.
Step 4
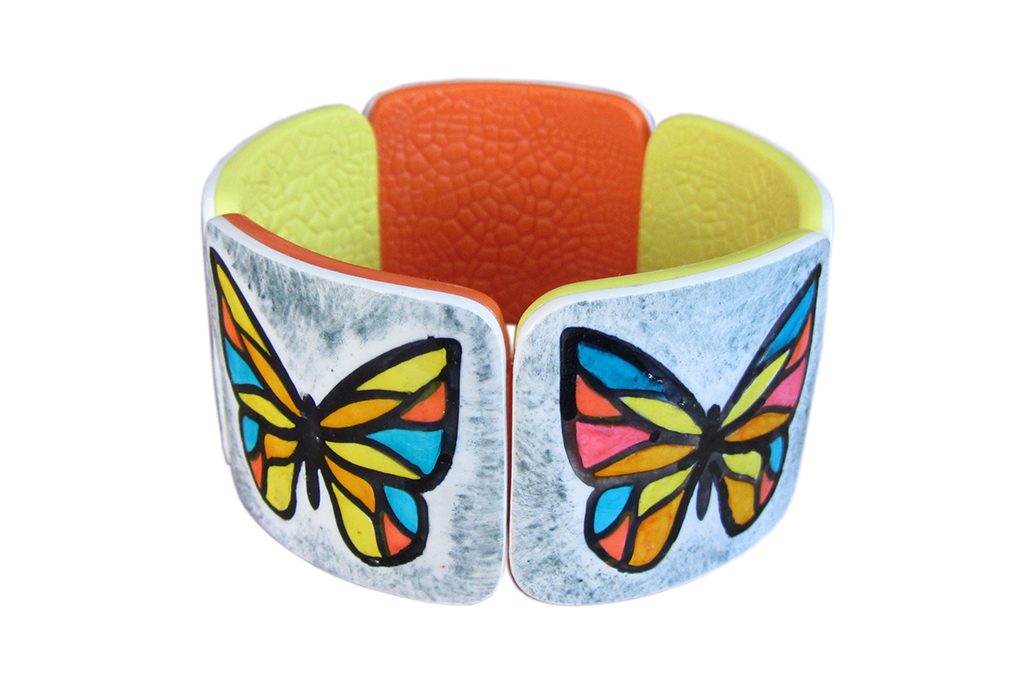
Piece with grooves (backside layer): Run clay of the selected colour at a thin setting (Imperia No. 2), texturize it and place three thin stripes on it from the non-textured side (Imperia No. 2). The middle part is 1.5cm/0.6” wide and both ends are about 1.5mm/0.06” away from it, which creates two grooves for threading the elastic cord. Cut a rectangle symmetrically.
In general, the thicker are the backside layers, the smaller is the circumference of the future bangles. The inner circumference of this bangle is 17.5cm/6,89”, taking into account the dimensions of the cutter, the thicknesses of the back layer and the threading of the five pieces.
Step 5
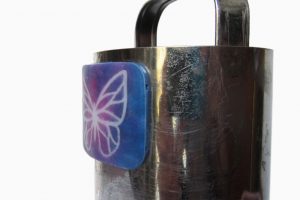
Coat the backside of “ butterfly” pieces with liquid polymer, carefully press the back layer against them (grooves inwards) and place on the mold (metal can).
On the can, cut the excess clay of the back layer. Cut the longer edges perpendicularly to the surface of the can and the shorter sides at an angle to the center of the mold. Bake again (130°C/266°F and 15 minutes).
Clean the edges of the pieces with a sanding sponge, you can repaint with clear varnish. Widen the two holes in the edge of one piece with a 2-mm/0.08” diameter drill to a depth of approx. 5mm/0.19” and thread all the pieces (the one with the drilled holes first) onto an elastic cord (I use 0.8 mm Elastomer). Tie double knots at the ends of both elastic cords, cut at a distance of 4 mm. Drip both knots with nail polish and pull inside the bangles.
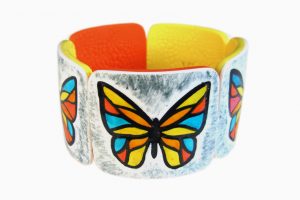
COLORED BANGLES WITH BACKFILLING
The procedure is similar to the previous one, you just need extra:
Clay in different colours for the backside, a piece of black polymer clay, alcohol markers in different colours (Touch Twin Markers) or LC Glassymers and powder Perfect Pearl (Blue Patina), thin soft and wide coarse brushes.
Roll LC Microstencil into the white clay (Imperia No. 3), cut it off the tile, cut a rectangle and transfer it to a cylindrical mold (metal can). Bend the clay to remove the Microstencil. Remove the Microstencil carefully and bake the rectangle on the metal can. (15 min at 130°C/266°F).
Press the black clay mixed with the liquid polymer into the relief and wipe it with a wet wipe so that it remains only in the recessed parts (backfilling). Bake on the can again.
Paint the individual areas with alcohol markers or colour Glassymers applied with a thin brush in a thin layer. Coat the perimeter of the rectangle (around the butterfly) with liquid polymer and apply Perfect Pearl with a coarse brush.
Bake again at 15 min at 130°C/266°F.
Work on the backside the same way as in the previous bangle.
Download PDF tutorial for free: butterfly-bangle-vera-sulcova
Leave A Reply