Materials and Tools
• Mug
• FIMO white and red
• Modeling tools
• Pasta Machine or roller (I am using a roller)
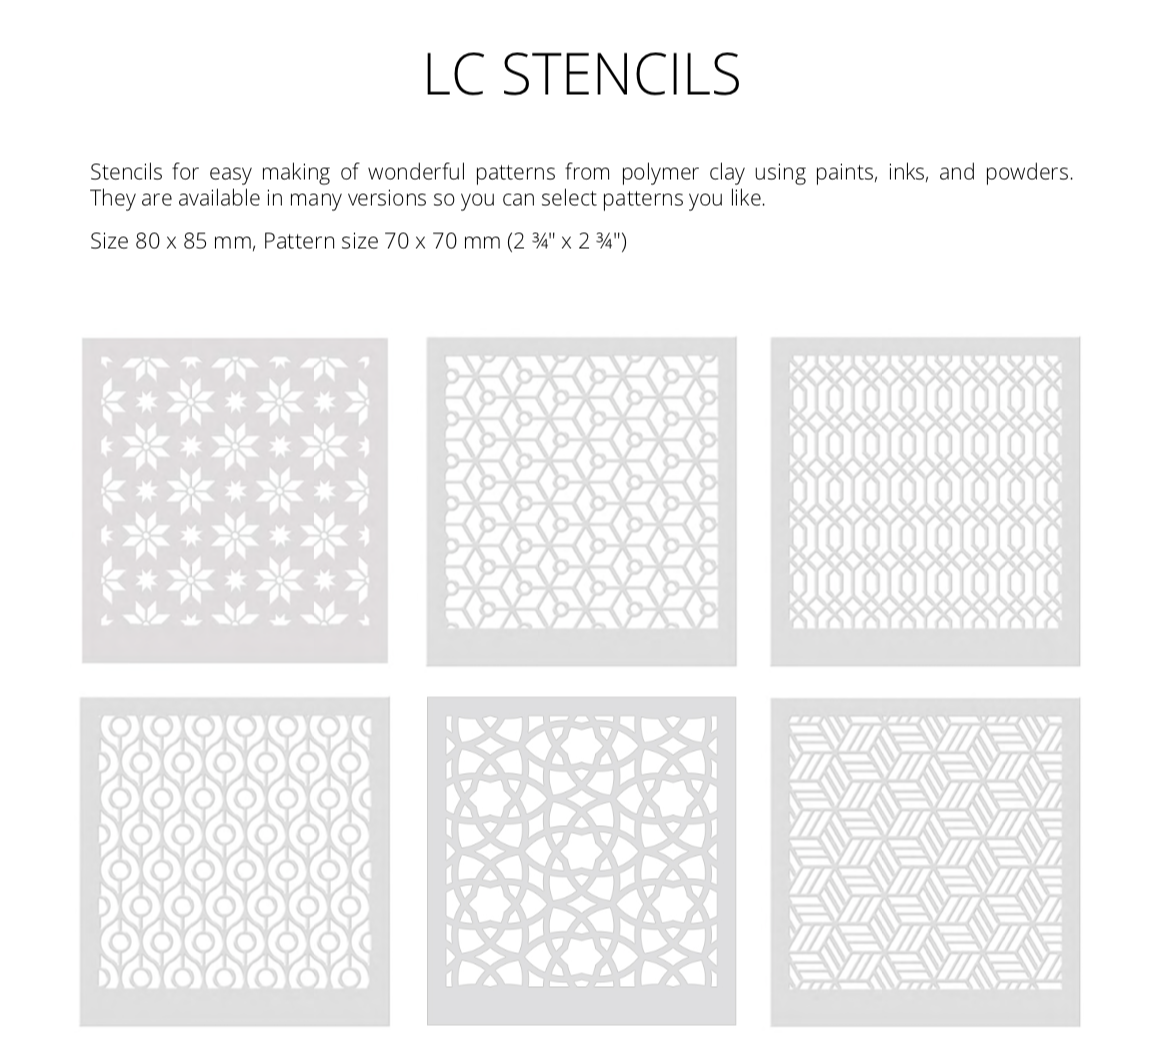
• LC STENCILS – Christmas set by Lucy Clay
ABOUT THE AUTHOR
 My name is Anna. I am 37 years old and have two little children. I am a mathematician by education, but a creative person at heart. Being on maternity leave, I decided to try myself in polymer clay modeling. I saw the work of others and thought that I could do it too:) I like to decorate dishes and to make brooches. Inspiration and ideas come in the process. I have been modeling since August 2019.
Anna Yablonskih
HOW TO
Step 1
 Draw a contour of a deer on paper. You will find the template in the PDF tutorial at the end of this page.
Step 2
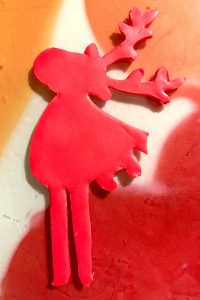 Roll red clay and cut out the contour of the deer.
Step 3
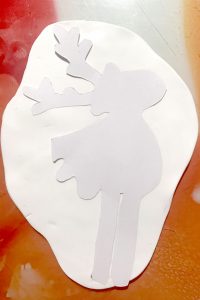 Same way, roll white clay and cut out a white deer.
Step 4
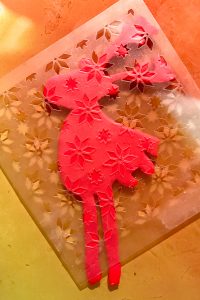 Place an LC STENCIL on the clay.
Step 5
 Apply paint to the stencil (I applied with a finger, but you can also use a piece of sponge or a brush). I used white and red acrylic paints.
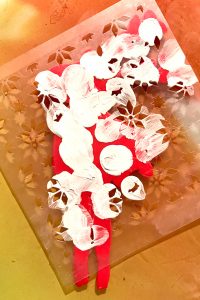
Step 6
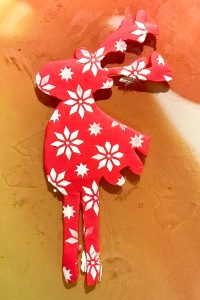 Carefully remove the stencil.
Step 7
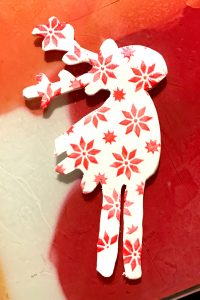 Repeat with a white deer and red paint.
Step 8
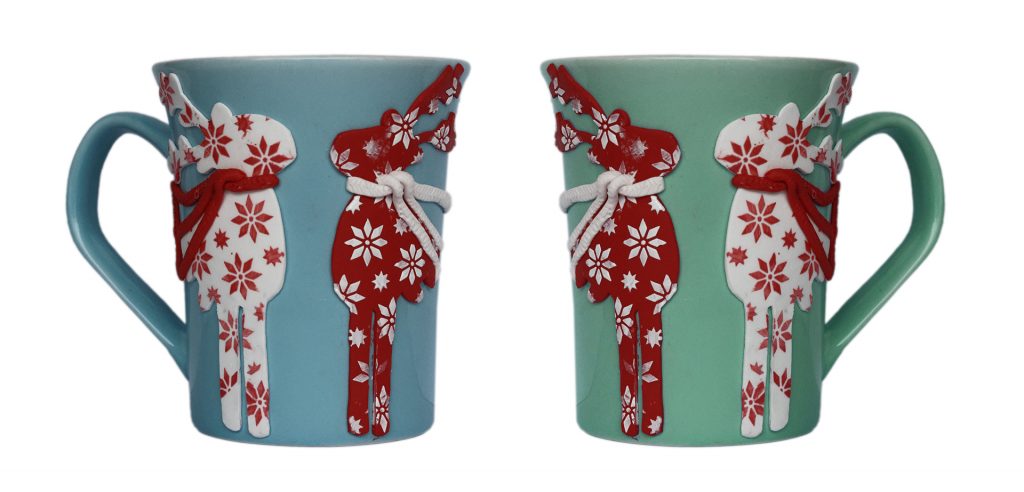
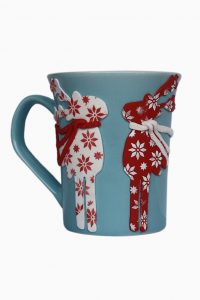
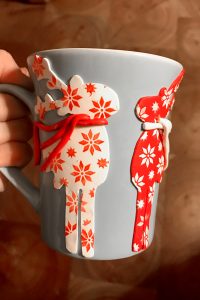 Place the deer on the mug.
Step 9
 Roll white and red clay into long “snakes” and make scarves for our deer. Connected ends to the heart on the back of the mug.
Step 10
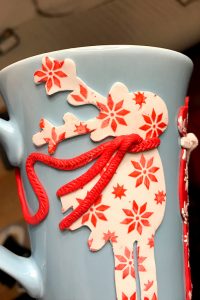 Put a pattern on scarves, imitating knitting.
Step 11
 Bake for 30 minutes at 110°C. After baking, glue the deers with strong glue. I use superglue, but you may also apply a thin layer of Glassymer Glue or other liquid before baking.
Download the tutorial in PDF for free: reindeer-mug
2 Comments
Merci pour ce beau partage . Est-ce-qu’on peut le laver sans problème ? Merci et belle nouvelle année , Joëlle
Hello, you may only clean it by hand, not in a dishwasher.